How to Specify Corrosion-Resistant Lighting for Coastal Projects
Corrosion-resistant outdoor lighting depends on the complete assembly: housing, finish, fasteners, mounting interfaces, cable entries and maintenance. For a coastal hotel, landscape or bridge, specify the exposure at each location and request evidence for the proposed materials and finish. A generic “marine grade” description is not enough.
The seaward terrace of a hotel, a sheltered entrance and a bridge parapet can experience different combinations of spray, deposits, wetting and cleaning. Treat them as separate exposure zones. The same approach works for coastal projects in Europe, the Middle East and Southeast Asia; the project conditions determine the specification, rather than the regional label alone.
LNJAMI manufactures LED inground lights, floodlights and linear façade lights for coastal hotels, promenades and bridges, and this guide reflects the questions our engineers review on seaside projects. It is written for lighting designers, consultants and buyers specifying fixtures near the sea.
Quick checklist for coastal lighting specification
Map spray, salt deposits, flooding and cleaning exposure for each fixture position.
Request the alloy, coating system and fastener grade for the exact model.
Ask for a coordinated detail wherever dissimilar metals meet.
Check the salt-spray report’s lab, method, specimen and acceptance criteria.
Agree the cleaning method, inspection schedule and warranty scope before purchase.
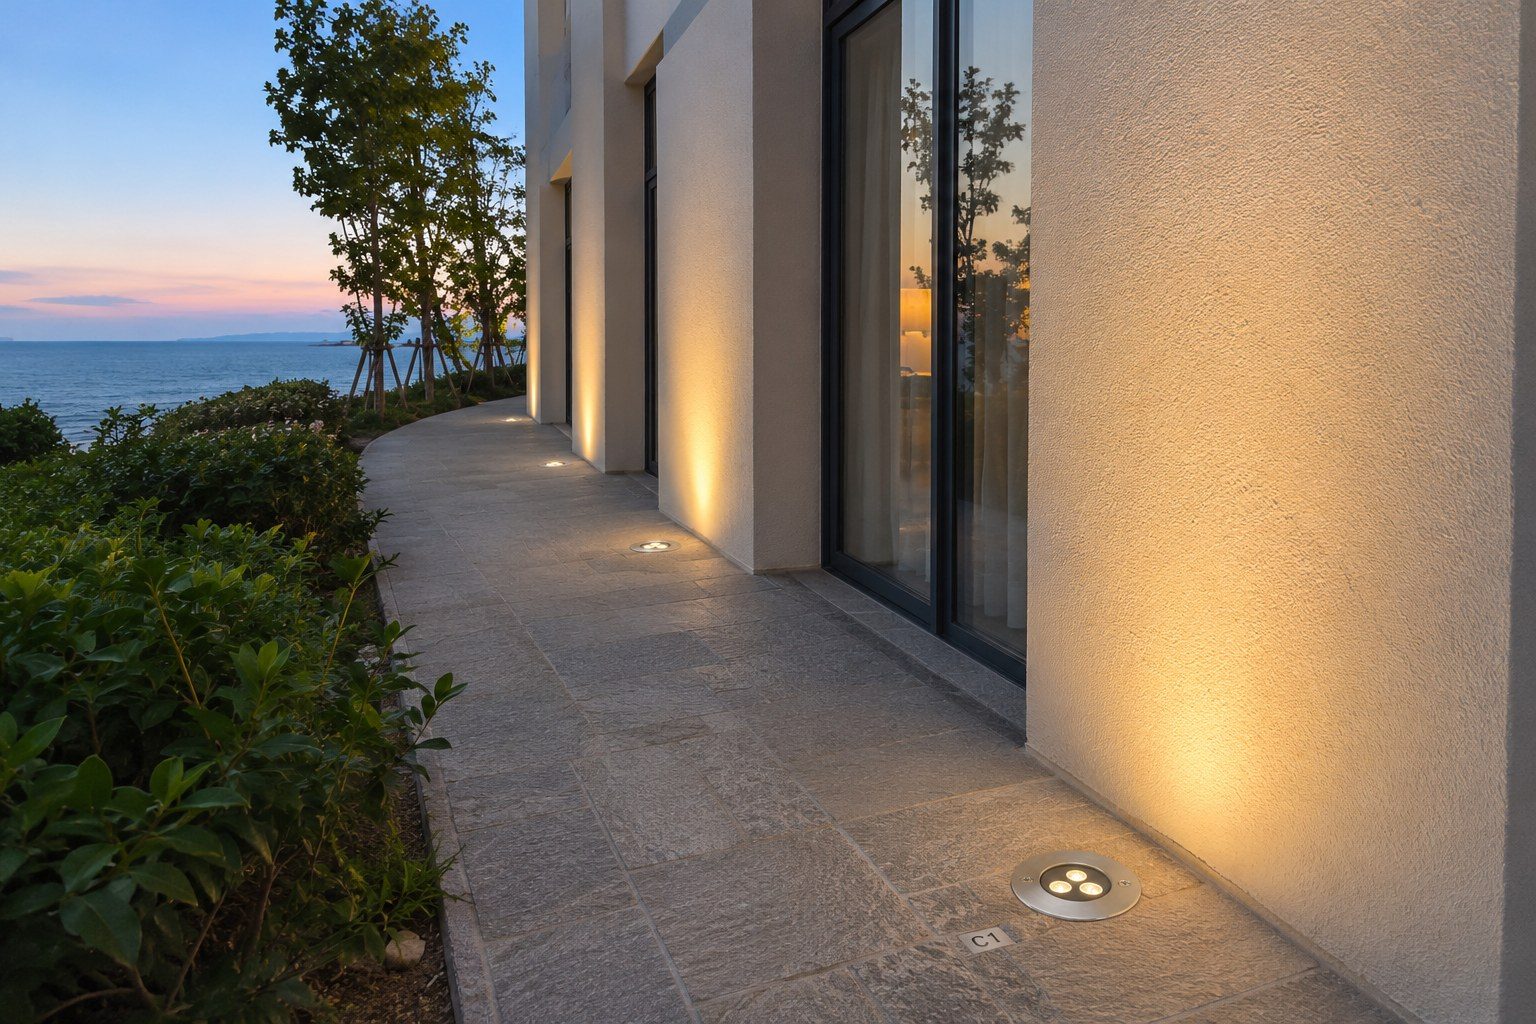
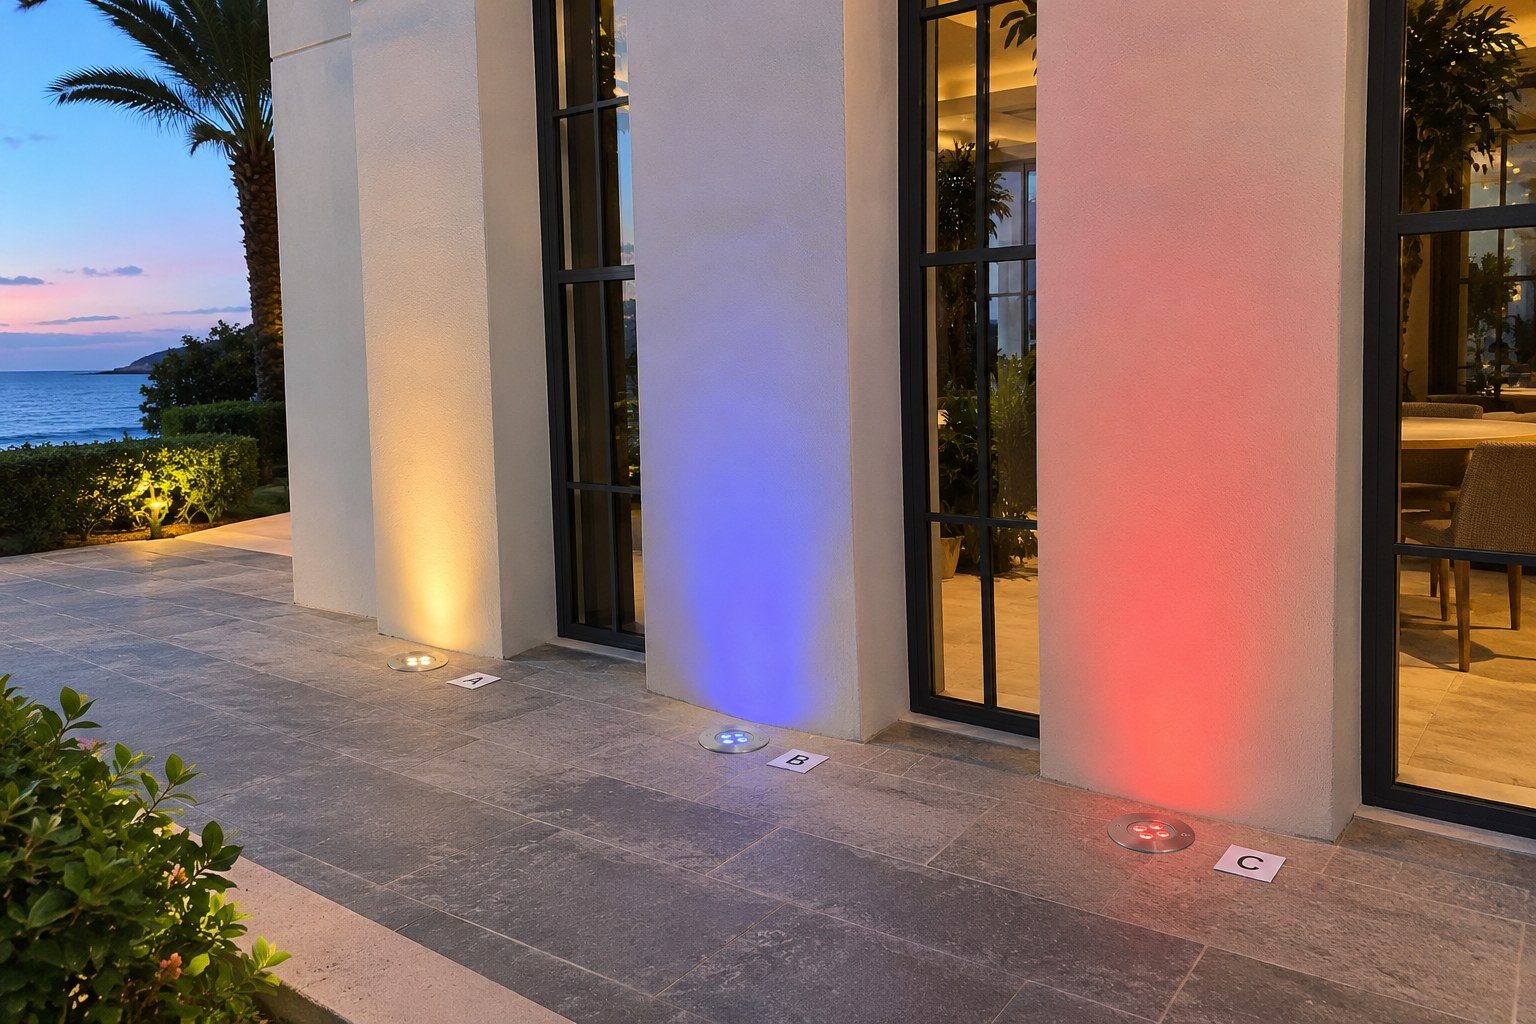
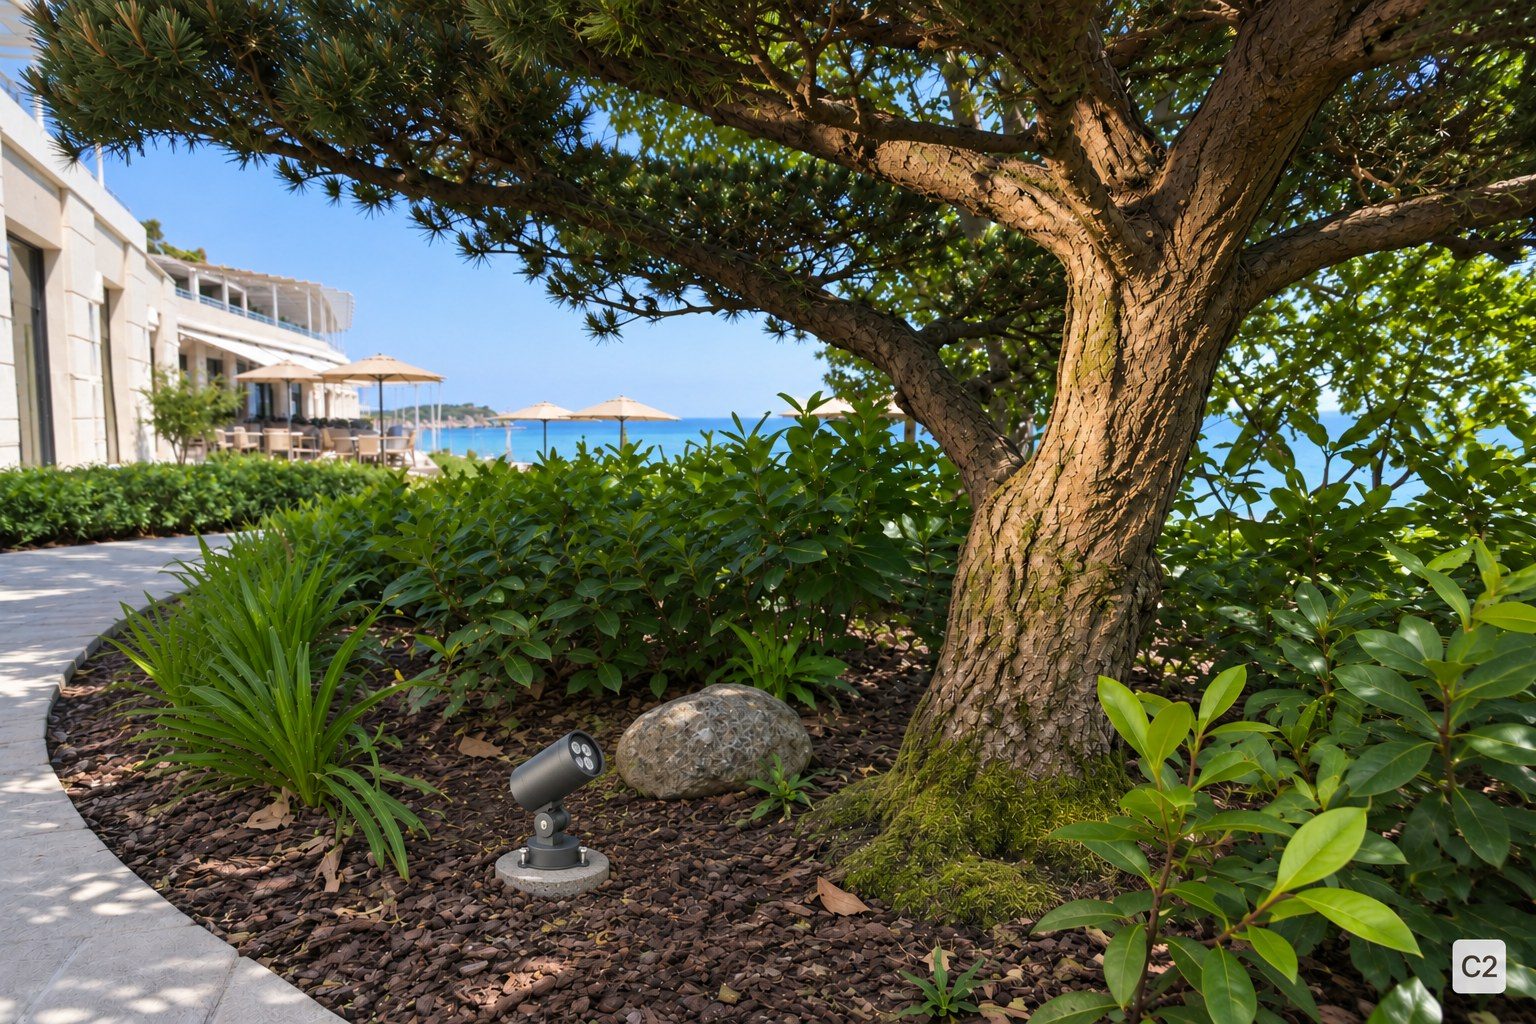
Match each fixture to its installation task. Recessed MD85 units sit in the ground and illuminate selected facade surfaces; Compact TPT projectors use an adjustable base to aim at planting; the illustrated TPT family has a head diameter of approximately 66 mm. Check the selected optics, mounting accessories, drainage and maintenance access. Catalogue appearance alone does not qualify a model for a particular coastal exposure: confirm the material, finish and supporting evidence for the order.
1. Map exposure before comparing materials
Record whether each fitting receives airborne salt, direct spray, occasional flooding or routine cleaning chemicals. Note shelter, prevailing exposure, runoff from other materials and the ability to rinse and inspect the assembly. Distance from the sea is useful context, but it does not describe every relevant condition.
| Location | Information to add to the specification |
|---|---|
| Hotel facade | Seaward or sheltered face; recess geometry; access for cleaning; runoff from adjacent metalwork. |
| Landscape and promenade | Irrigation, fertilizer or cleaning exposure; ground splash; drainage and public access. |
| Bridge or railing | Spray exposure; bracket and structural-metal interfaces; vibration requirements; maintenance access. |
Photograph one wide view and one detail for each exposure type, with the drawing location visible in the record. Ask the designer to resolve the environmental classification and project requirements before the final material selection.
2. Specify the housing, finish and joint as a system
For an aluminium housing, request the alloy identification, surface preparation, coating system and applicable quality checks. For stainless parts, request the grade and finishing requirements. Neither powder coating nor a stainless-steel description makes an assembly immune to corrosion; edges, crevices, damage and trapped deposits remain relevant.
| Component | Evidence to request |
|---|---|
| Housing and finish | Material designation, pretreatment, coating specification, revision and inspection criteria. |
| Fasteners and brackets | Material/grade, finish, tightening instructions and replaceable hardware list. |
| Dissimilar-metal interfaces | Approved isolation or interface treatment, drainage detail and bonding requirements. |
| Cable entries and connectors | Material compatibility, assembly instructions and intended environmental exposure. |
Where different metals contact one another in wet conditions, ask for a coordinated interface detail. Do not add insulating washers or coatings indiscriminately: the joint’s mechanical function and protective bonding must still meet the design. Review the complete assembly with the responsible engineer and manufacturer.
3. Ask what the salt-spray report actually demonstrates
A salt-spray number without the method, specimen and acceptance criteria is difficult to use. Request the laboratory, report number, test method, exposure duration, specimen preparation, coating revision and assessed defects, and confirm whether the test covered a coupon, a housing component or the assembled fitting.
ISO 9227 describes salt-spray procedures and explains that these tests are not a means of predicting long-term corrosion resistance, so do not convert test hours into outdoor service years. Ask for before-and-after photographs tied to specimen IDs, and if a finish changes after approval, confirm whether the existing evidence still applies. For a step-by-step review, see how to read a salt spray test report.
Not sure whether a salt-spray report covers your fixtures? Send it to our engineers for a free project consultation →
4. Protect the finish during installation
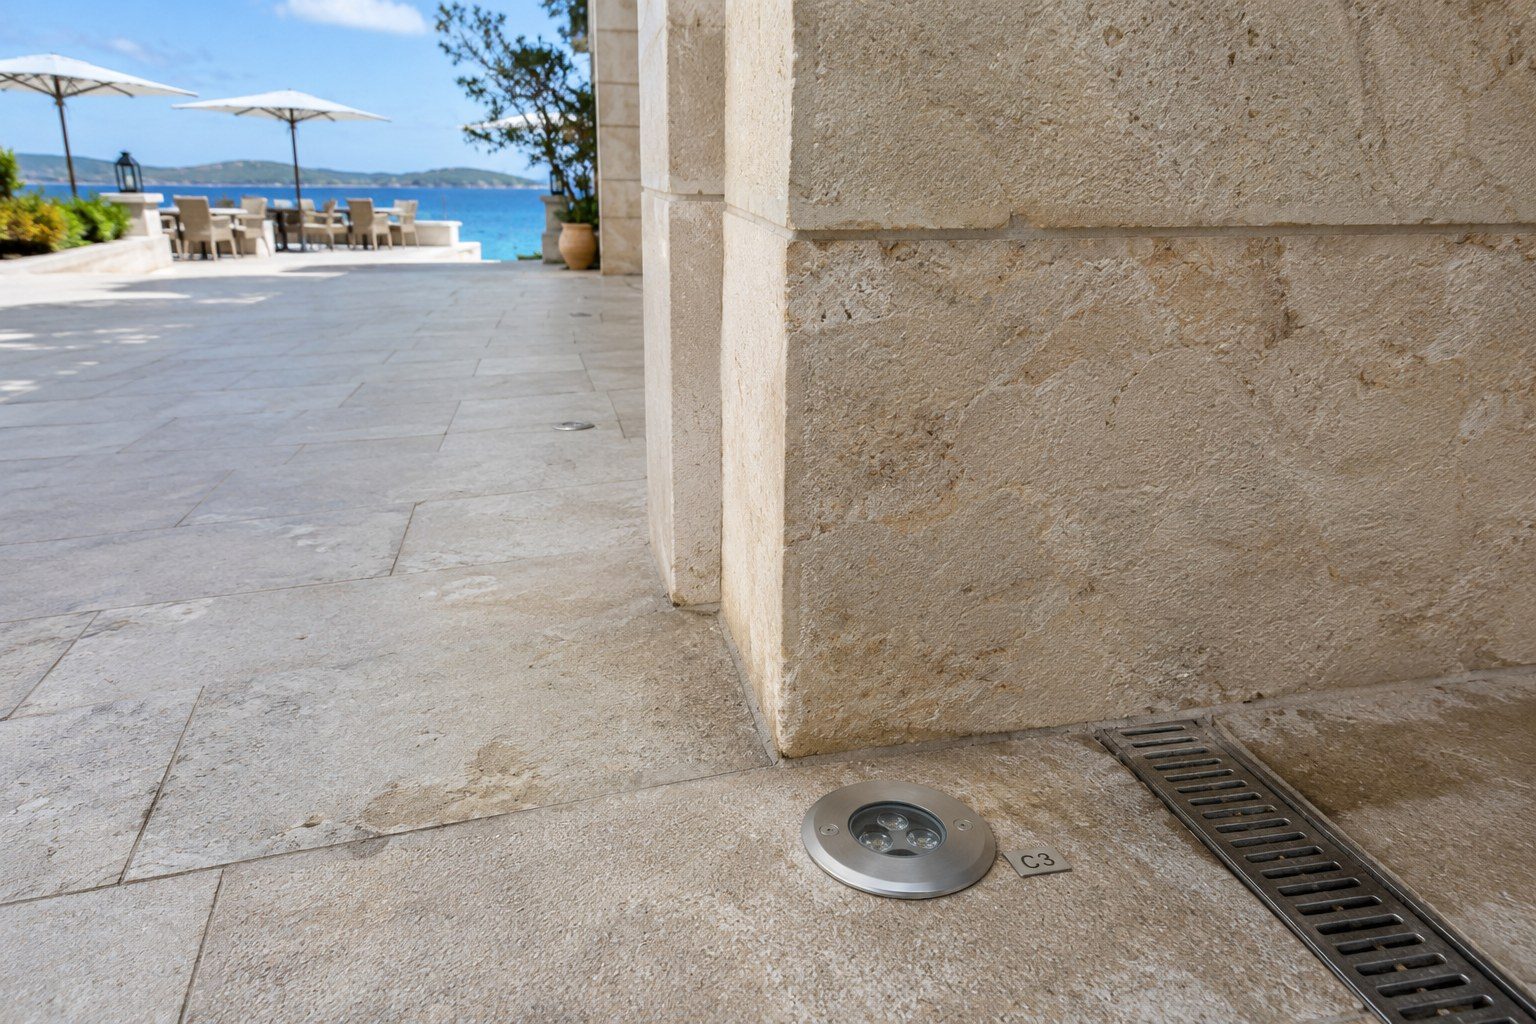
Inspect coating edges, bracket contact points and fasteners when goods arrive and again after aiming. Record scratches, chipped finishes or deformation before they are concealed. Use approved repair procedures; a cosmetic touch-up is not automatically equivalent to the original coating system.
Keep connector locations accessible and within their specified exposure conditions. Prevent avoidable standing water at brackets and recesses. Confirm cable-entry orientation, strain relief and tightening instructions. Site-applied sealants, grease or tapes require product-specific approval because they can affect materials, contact performance or serviceability.
5. Define cleaning and warranty boundaries before purchase

Agree who inspects the fittings, how they are reached and how findings are recorded. Request an approved cleaning method and starting inspection schedule, then adjust it using observed salt and dirt accumulation. Record coating condition, fastener condition, drainage and connector access separately from electrical operation.
Ask the warranty to state the covered configuration, permitted exposure, maintenance obligations and treatment of cosmetic changes, corrosion, accidental coating damage and unauthorised modifications. Clarify labour, access equipment, transport and replacement scope. A general warranty length does not resolve these boundaries.
Use our weather and corrosion guide as a background entry point while requesting model-specific documents. Approval should rely on the agreed specification and evidence, not a broad durability statement.
6. Preserve traceability through packing and loading
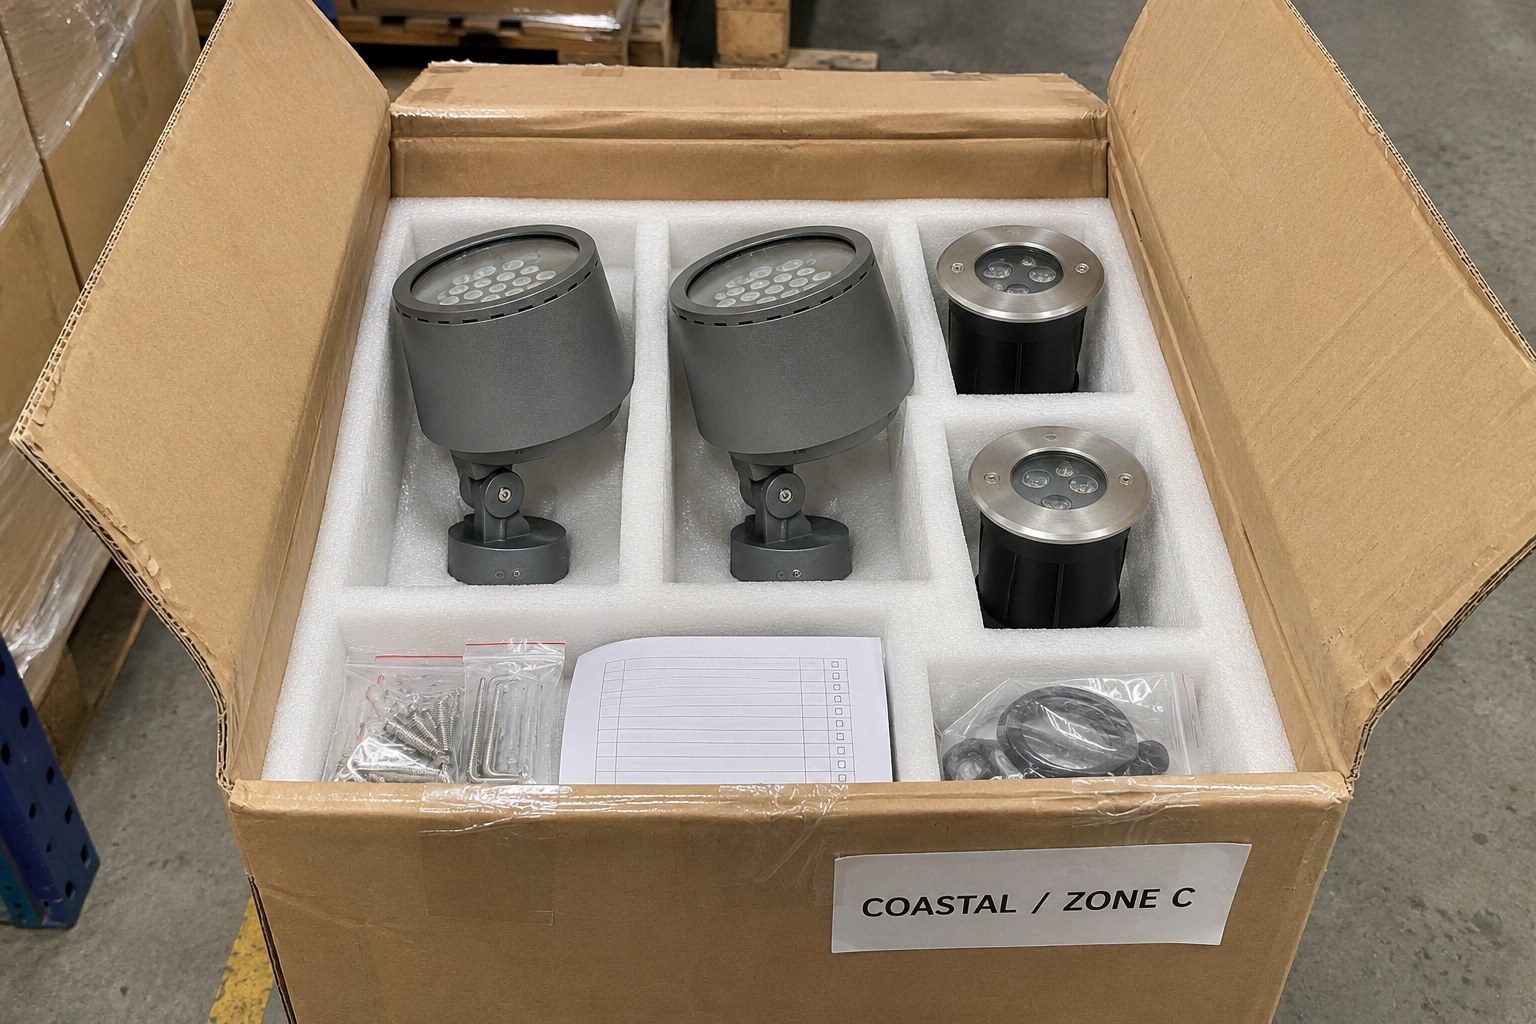
Before dispatch, match the finish code and hardware kit to the approved schedule. Protect coated surfaces from abrasion and separate loose fasteners from lenses. Keep goods dry during storage and loading. Photograph the labelled cartons, protection and pallet arrangement before closure, recording the packing-list revision and any visible damage.
Use matching location, fixture and carton IDs.
Record material and finish revisions before releasing the order.
Retain the relevant test report and acceptance criteria.
Approve interface and repair details before installation.
Agree maintenance responsibilities and written warranty scope.
For the bigger picture, see our weather and corrosion resistance guide. For hot or humid sites, see our hot-climate facade lighting guide and tropical waterproofing guide.
Frequently asked questions
Is 316 stainless steel always the best choice?
No single material resolves every exposure or assembly issue. Grade, surface condition, crevices, interfaces, structural requirements and maintenance all need review.
Does an IP rating prove corrosion resistance?
No. Ingress protection and corrosion assessment address different questions. Request the relevant evidence for each.
Can a salt-spray duration be converted to years beside the sea?
No reliable universal conversion applies. Use the report within its stated scope and assess the actual installation environment.
Why choose LNJAMI for coastal lighting projects
Salt-spray evidence on request. When a coastal project needs a salt-spray report, we arrange testing with a third-party laboratory for the specified finish.
Customized fixtures. Custom lengths, wattages, beam angles and color temperatures. See our custom wall washer and linear light solutions.
Burn-in before shipment. Fixtures are burned in before they leave the factory, typically for 24–48 hours, so early failures are caught before installation.
MEAN WELL drivers. Integral or remote driver configurations, with MEAN WELL drivers available.
Standard or custom brackets. Standard mounting hardware, or custom brackets and fasteners designed for the project.
Project engineering support. Free project consultations on drawings, fixture schedules and installation details before purchase.
Get a free project consultation for your coastal project
Send LNJAMI your site location, exposure photographs, mounting details, finish requirements and maintenance plan. Our engineers will reply with:
a proposed material-and-finish schedule for the selected models
the supporting documents available for each finish
a list of open interface and maintenance questions to resolve before purchase
Book a Free Project Consultation → · Explore Linear Façade Lights · Explore Bridge Lighting
Note: Product ratings, materials, installation details and control compatibility must be confirmed for the selected model and project conditions. Inspection and packing arrangements shown are examples.