Underwater LED Fountain Lighting Retrofit: How to Replace Lights in an Existing Fountain
Short answer: an underwater LED fountain lighting retrofit starts with the basin, not the catalogue. Record the water levels, nozzle positions and existing light niches, choose a fixture rated for every water state it will see, and test the beam with the pumps running before you release the order.
This guide covers the checks we recommend for replacing submerged lights in an existing fountain, reflecting pool or wet/dry deck: the survey, the beam test, fixture selection, electrical coordination and the handover record.
Quick guide: replacing underwater fountain lights
• Record normal and minimum water levels, nozzle positions and jet heights.
• Check each niche for depth, opening, rim and cable entry.
• Choose IP68 fixtures rated for your deepest position, with 316 stainless steel housings for submerged use.
• Confirm dry-running limits and the electrical design with a qualified designer.
• Test the beam in moving water before you release the order.
1. Survey the fountain with the water off and on
A fountain retrofit can start with an existing light niche that looks ideal on the drawing. At normal operating level the lens is submerged. During a low-water scene the same light may be partly exposed. A replacement has to suit the location in both states, and it has to stay accessible when the fountain crew comes back to clean it.
Record:
• normal and minimum water levels, and the maximum immersion depth at each fixture position;
• the position, direction and height range of each nozzle and jet;
• the depth and opening size of each existing light niche;
• the existing bracket, cable entry and conduit route.
Photograph the basin empty and again with the pumps running, from the points where visitors normally stand. If a jet changes height with the programme, record that range.
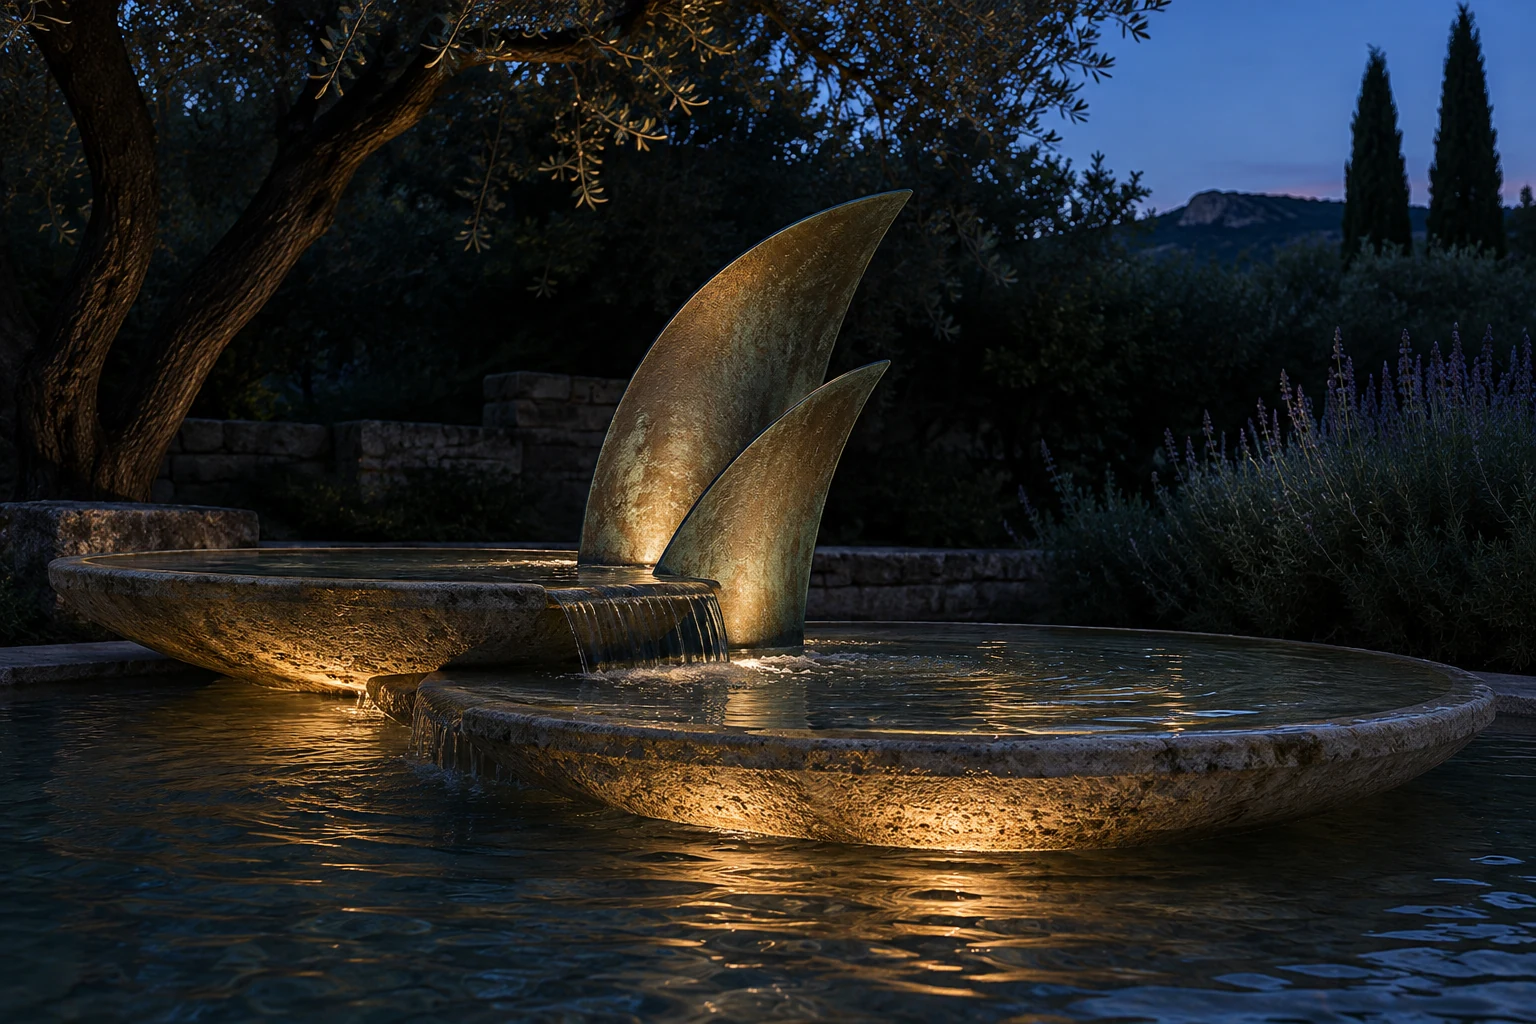
Check the opening as well as the depth. Draw the existing bracket and cable entry on a small section, then add the proposed fixture in its tilted position. Leave room for the bracket to turn and for the cable to bend within its specified radius. If the old niche sits behind a raised rim, verify that the rim does not cut off the beam at the chosen angle.
2. Test the underwater beam in moving water
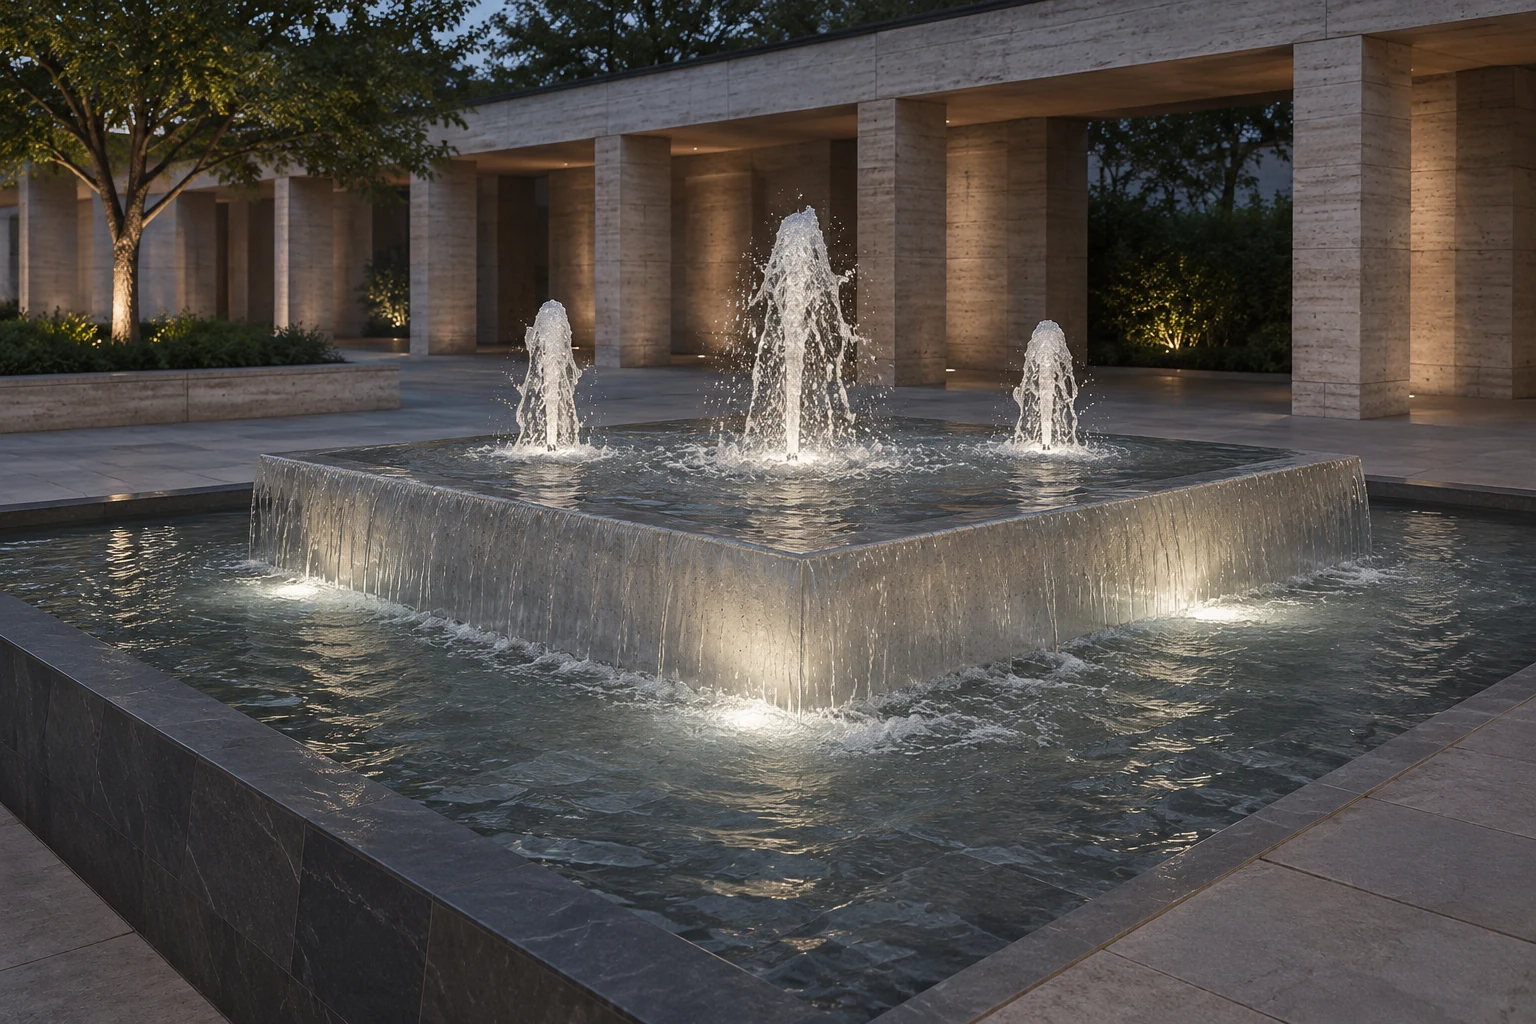
Lighting a jet, the basin wall and a central feature are three different tasks. A beam that catches the jet close to its nozzle helps the water read as one continuous shape. A beam that passes alongside the jet may mostly brighten the basin. Put a sample in the intended niche at the approved depth and test both ordinary and peak-flow scenes.

Start with white light to check beam position and reflections from the rim. If the scheme uses RGBW, test a pale mixed scene as well as saturated colours; our guide to outdoor RGB and RGBW lighting covers colour mixing. Review the view from the nearest rim and from a more distant point. A fountain that looks right from across the plaza can still show a bright lens to someone standing at the edge.
3. Choose an underwater LED light for every water state
Read the exact model's instructions and check these points with the supplier:
• Ingress protection and depth: the fixture should be IP68 with a stated maximum immersion depth that covers your deepest position. IP68 depth ratings differ from model to model, so confirm the rated depth of the exact model rather than the product family; we confirm this per model when you send your water levels. See how IP ratings affect long-term exterior performance.
• Dry running: some underwater fixtures rely on the water for cooling. If maintenance or a programmed scene can expose the light, confirm that the model is approved for that condition, or have the controls switch it off.
• Materials: ask for the housing and fastener grade and whether it suits the water treatment (chlorine or other chemicals) and, on coastal sites, salt. 316 stainless steel is the usual choice for submerged housings, and LNJAMI can supply underwater lights in 316 stainless steel. A salt-spray test report is a reasonable request for coastal projects.
• Cable: confirm the cable type and length rated for continuous submersion, so there is no underwater joint.
• Cleaning: lenses in hard water collect scale. Ask how the lens can be cleaned without damaging the seal.
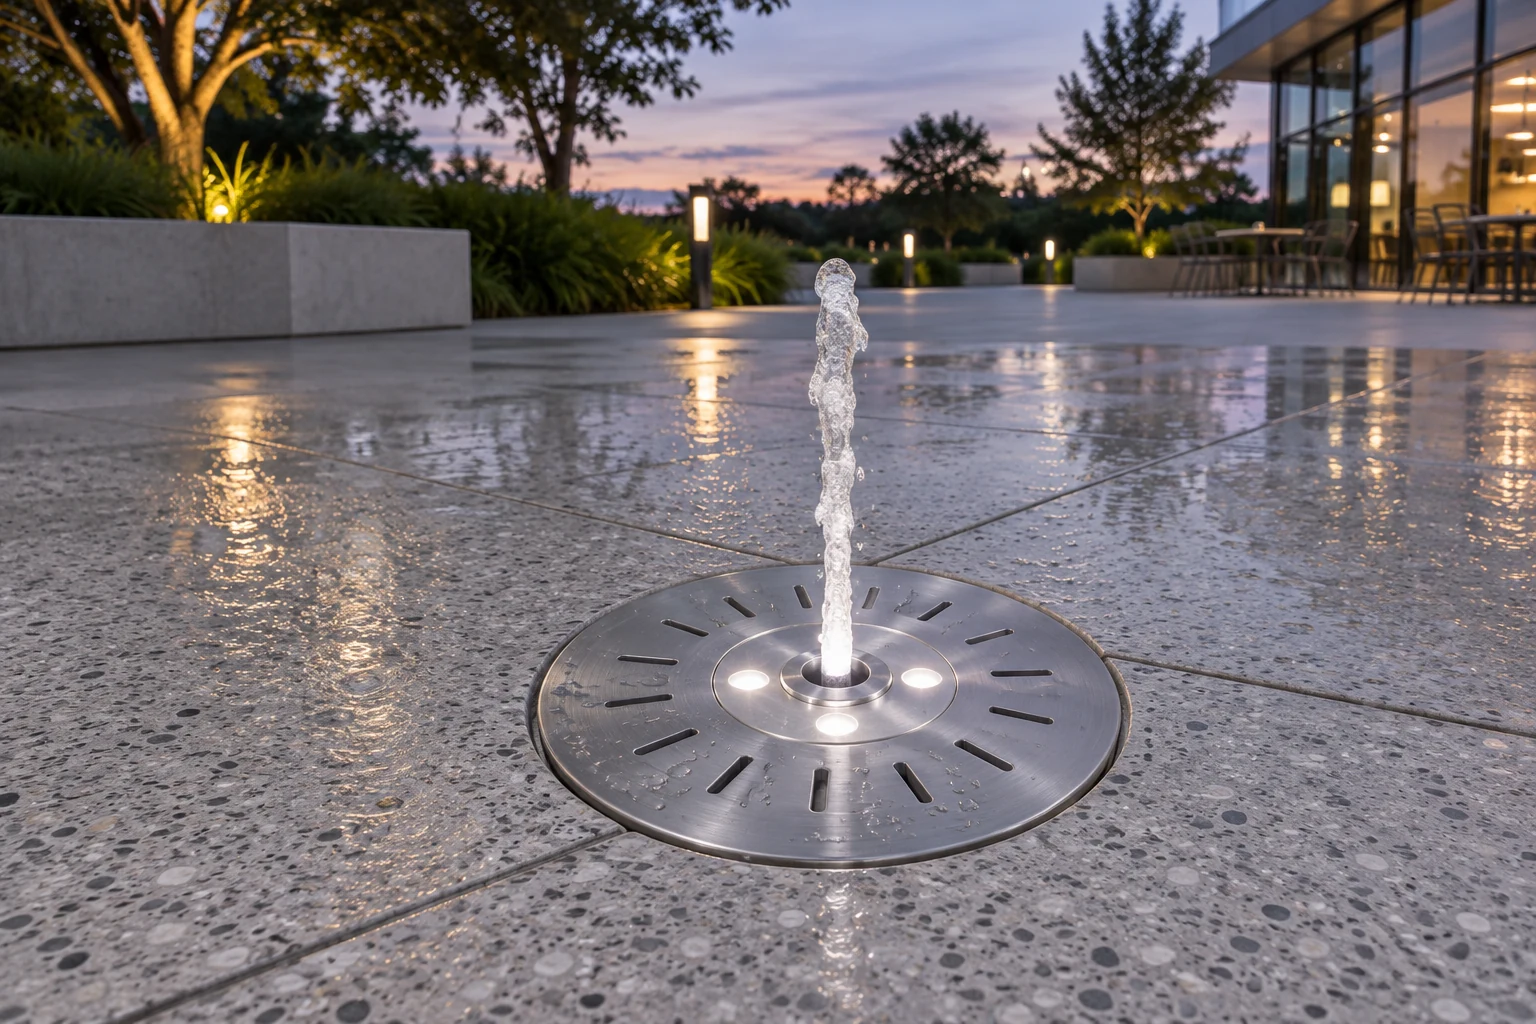
Not sure which underwater light suits your water depth? Send us your water levels for a free project consultation →
4. Coordinate the electrical design
Underwater lighting is a safety-critical installation. Have the project's qualified electrical designer verify the supply voltage, ground-fault protection, bonding and where each cable can be terminated under the governing code. In the United States, permanently installed fountains fall under NEC Article 680; other regions have their own requirements. Many fountain designs use low-voltage fixtures supplied by a suitable transformer or power supply, and include a low-water cut-off for equipment that must stay submerged.
Survey the condition and routing of any existing conduits before deciding to reuse them. Check that the fixture can be lifted out for service by the approved method without pulling on the cable or opening an underwater connection. Water problems in outdoor lights usually start at cable entries; our article on outdoor LED water ingress explains the common failure points.
5. Hand over a record the maintenance crew can follow
Mark the aiming angle and fixture position, then record the water level, pump scene and lighting scene used for acceptance. Give the operator the fixture schedule and the route to each service point. A simple annotated photo of the emptied basin helps the crew identify each light once the fountain is back in operation. If the system is DMX-controlled, include the address of each fixture; see DMX addressing and troubleshooting.
6. What to send for an underwater lighting quote
For an underwater LED lighting enquiry with LNJAMI, send:
• the basin section with normal and minimum water levels;
• the nozzle plan and jet heights;
• photos and dimensions of the existing niches;
• the white or colour scenes you need and the control system;
• the available supply voltage.
Ask for the exact model's permitted operating conditions, rated immersion depth, mounting drawing and cable information before you release the order. For the models you shortlist, we can provide IES photometric files measured on our own photometric test equipment, and send samples for the in-water beam test. Browse our underwater LED lights.
FAQ
Can I reuse the existing fountain light niches?
Often, if the niche depth, opening, rim and cable entry suit the new fixture at its intended tilt. Test-fit a sample before ordering the full quantity.
What IP rating do underwater fountain lights need?
IP68, with a rated immersion depth equal to or greater than the deepest fixture position. Check the exact model's data, because IP68 depth ratings vary between products, and not every underwater light is rated for deep installations.
What housing material is best for underwater fountain lights?
316 stainless steel is the common choice because it resists corrosion from treated and salty water better than 304. LNJAMI can supply underwater lights with 316 stainless steel housings.
Can underwater LED lights run out of water?
Only if the model is approved for dry running. Many rely on water for cooling, so the controls may need to switch them off when the water level drops.
Should I choose white or RGBW for a fountain?
White suits most permanent fountains and shows the water clearly. RGBW adds flexibility for events and shows, but should be tested on site with both pale and saturated scenes.
Get a free project consultation
Send us your basin section, water levels, nozzle plan and niche photos. We can confirm the rated depth for each model, supply underwater lights in 316 stainless steel, provide IES files for the shortlisted models and send samples for an in-water test.