Bridge Underside LED Lighting Retrofit: Can You Reuse the Existing Recesses?
Short answer: often yes, but only after you have measured every recess, drawn the beam you need from it, and test-fitted a production-intent sample in at least one representative bay. In a bridge underside LED lighting retrofit, the old pockets decide what fits, where it can aim and whether it can be serviced later. Ordering from the old drawings alone is how projects end up with fixtures that fit the hole but light the wrong surface.
This guide walks through the checks we ask clients to make before they request a quote: the recess survey, the beam drawing, the sample fit, the night test and the information to send.
Quick guide: reusing bridge light recesses
• Measure every recess to the first internal obstruction, not just the opening.
• Draw the pier uplights and soffit downlights on one bridge section.
• Test-fit a production-intent sample with its bracket, connector and cable.
• Check vibration-resistant fixings, IK rating and corrosion before reusing old housings.
• Run a night test from the bank and path viewpoints before ordering.
1. Start the bridge retrofit with the recesses you already have
The bridge closes for a short maintenance window. The first old light comes out, and the opening that looked generous on the survey turns out to be shallow behind the faceplate. At this point an LED bridge lighting retrofit becomes a fit-out job. The new fixture has to clear the pocket, point in the right direction and come back out for service. Get one location right before ordering the rest.
Give each recess an ID and record:
• the opening size and the usable depth, measured to the first obstruction inside;
• fixing points, their spacing and their condition;
• cable entry position and the condition of the retained cable route;
• drainage, sealing surfaces and any signs of standing water or corrosion.
A sloped back, a proud bolt head or a side-entry cable can cost more clearance than the drawing suggests. Photograph each empty recess with a scale in view and note what lies above or beside it. Put unusual locations in their own group, so a good fit at one bay does not stand in for the whole bridge.
2. Draw both jobs the underside lighting has to do
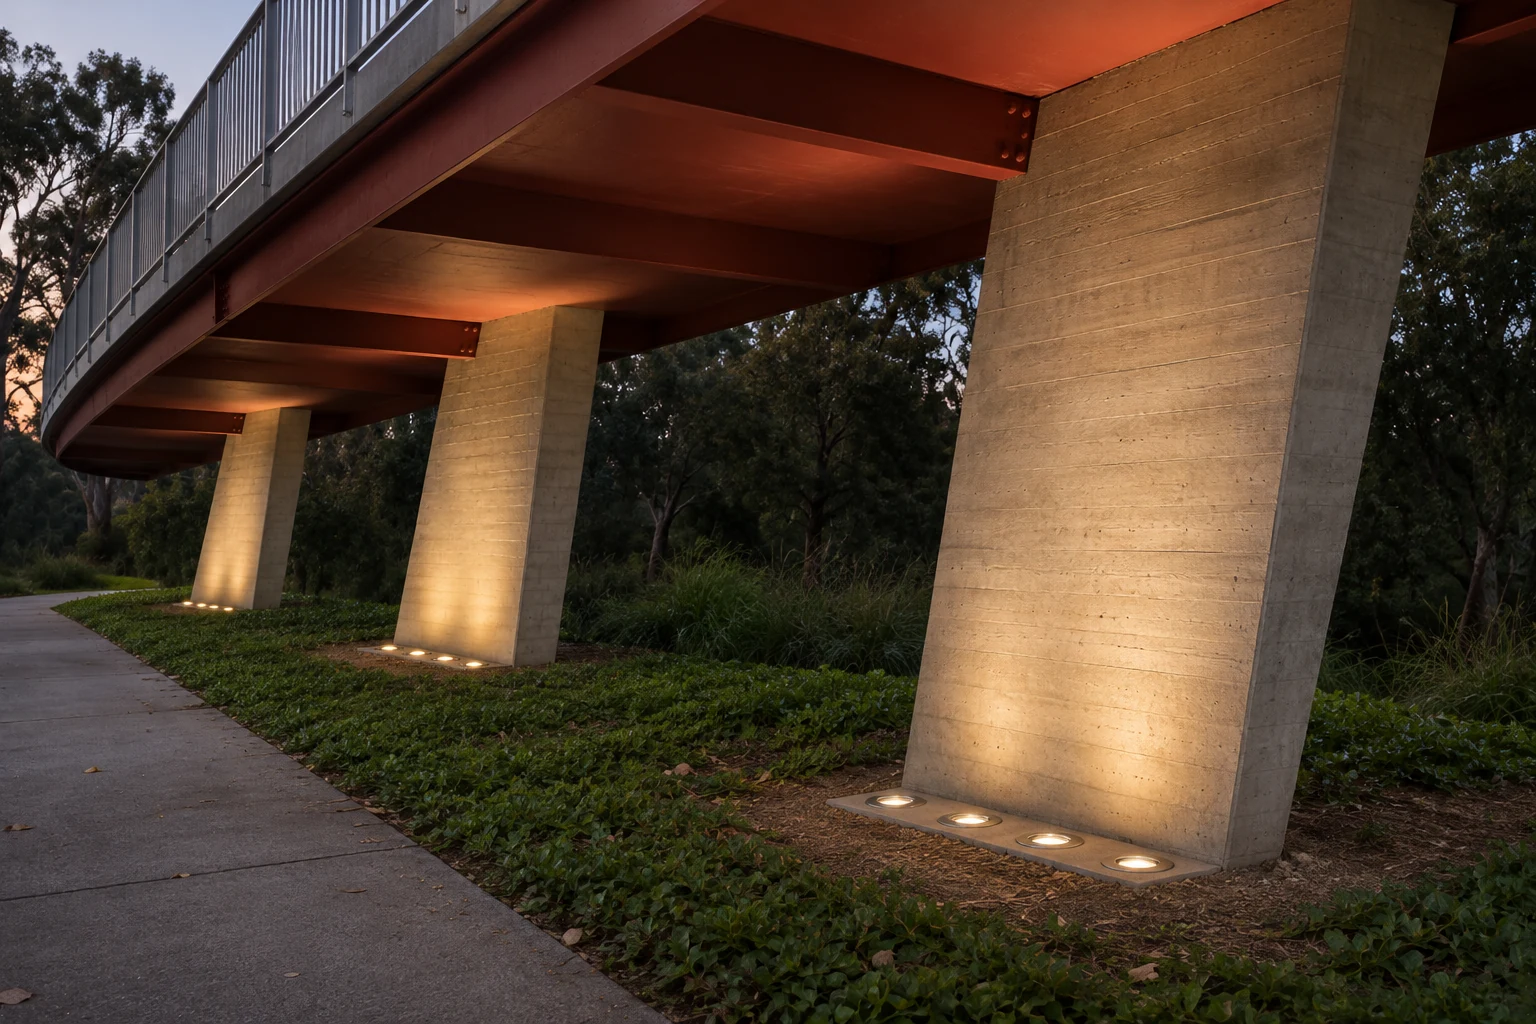
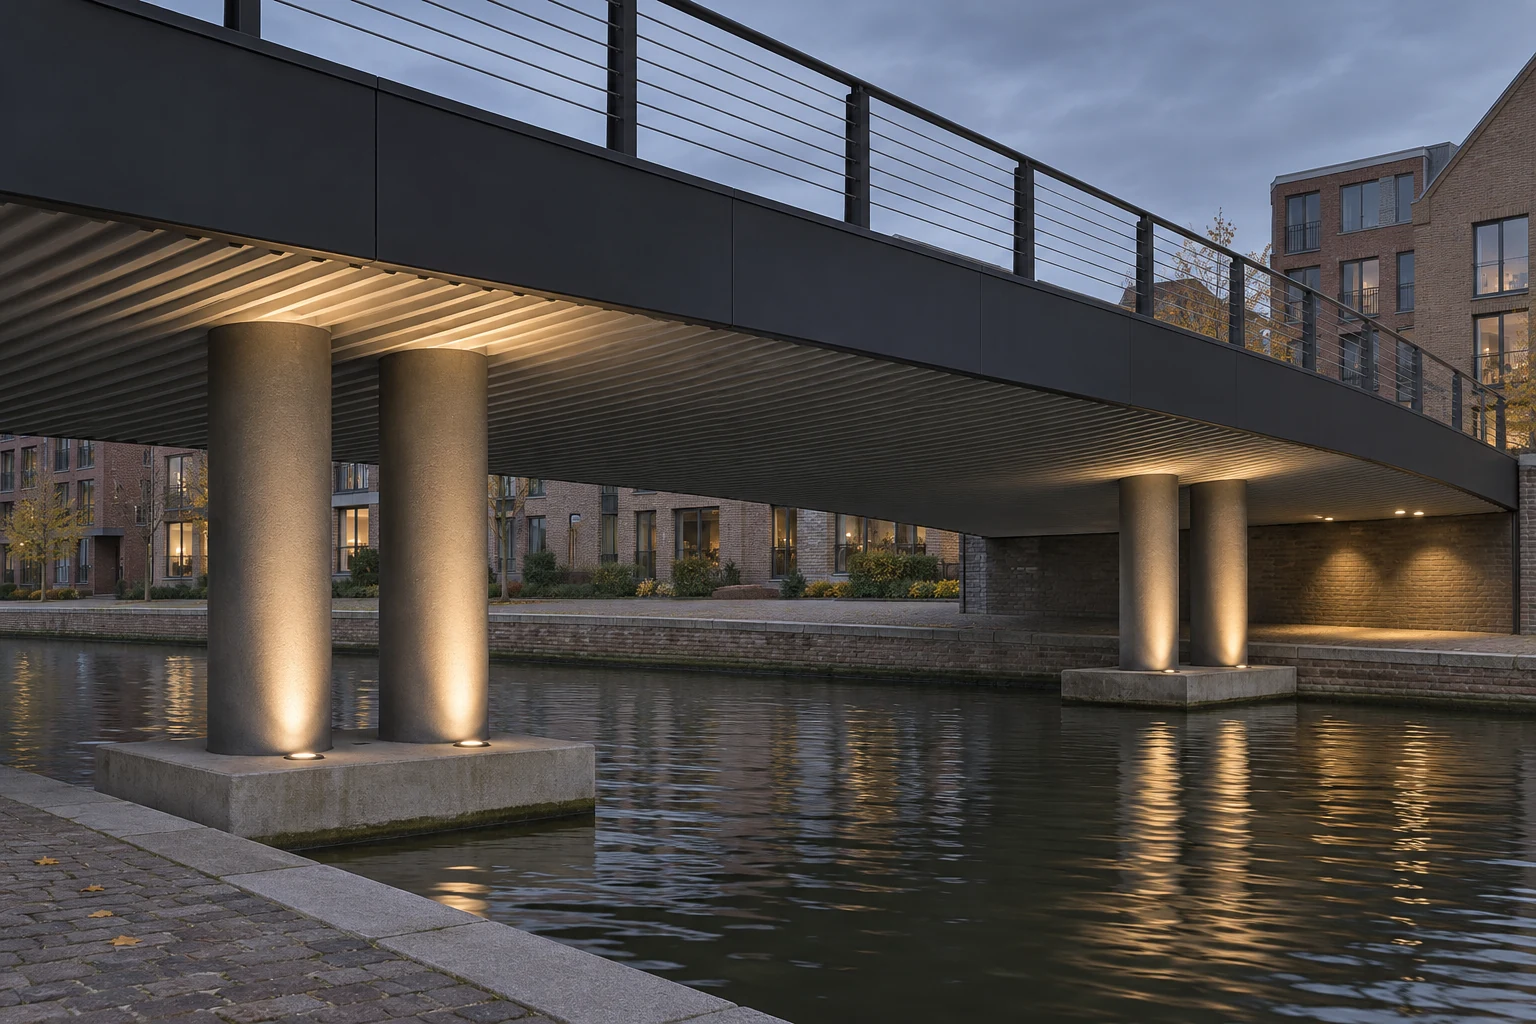
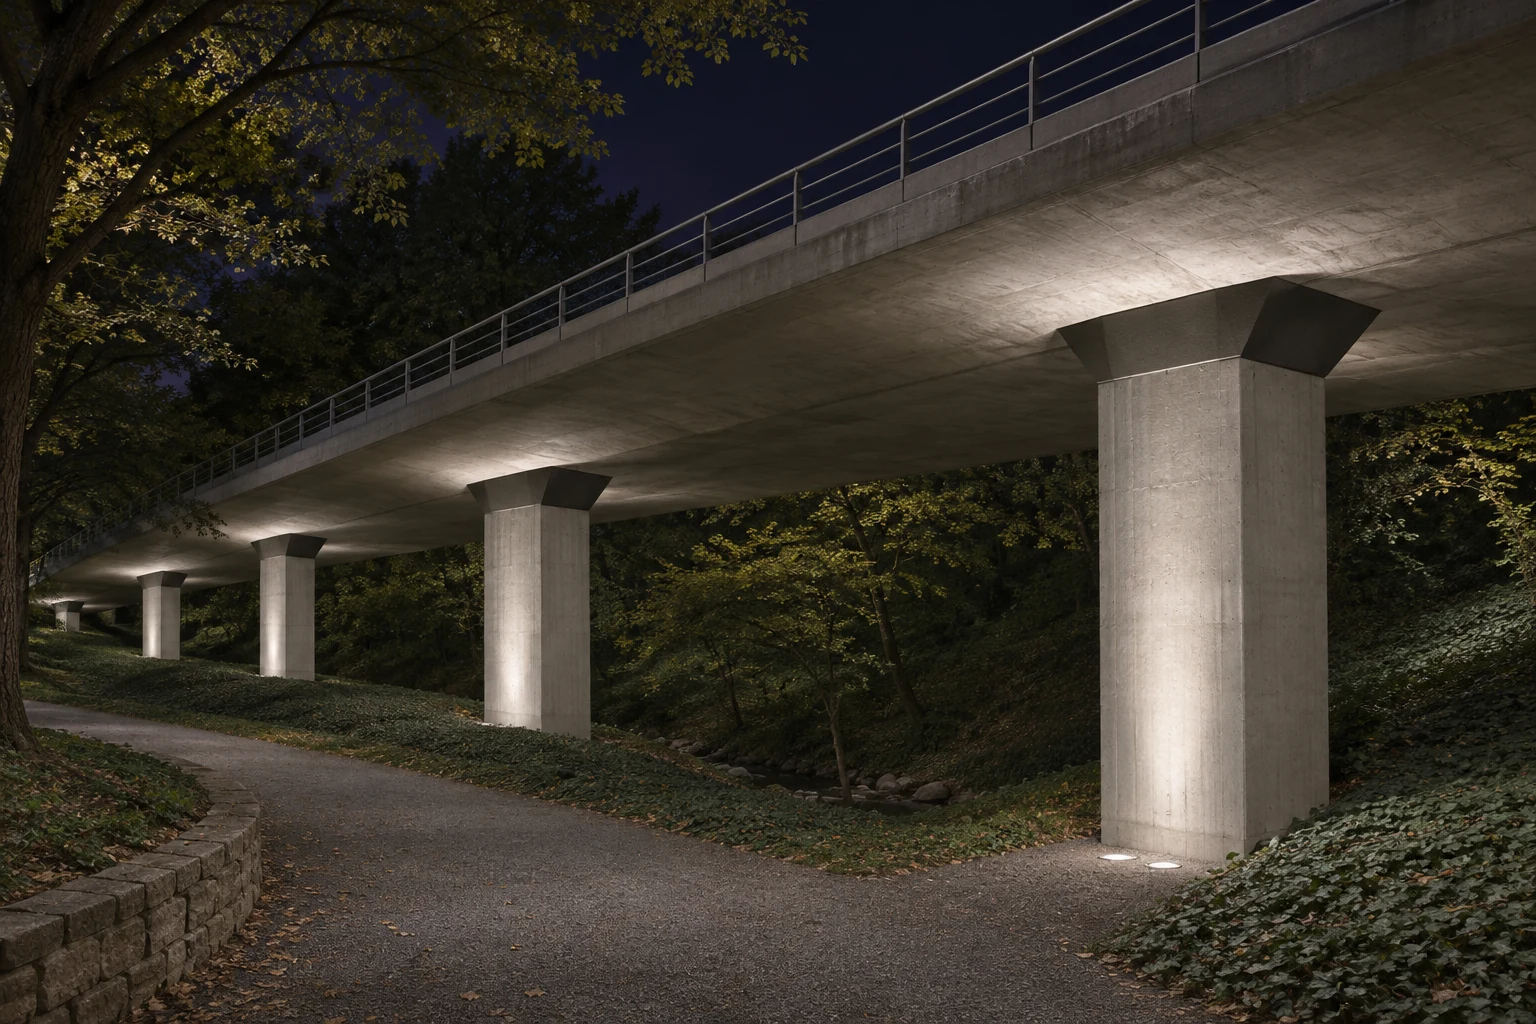
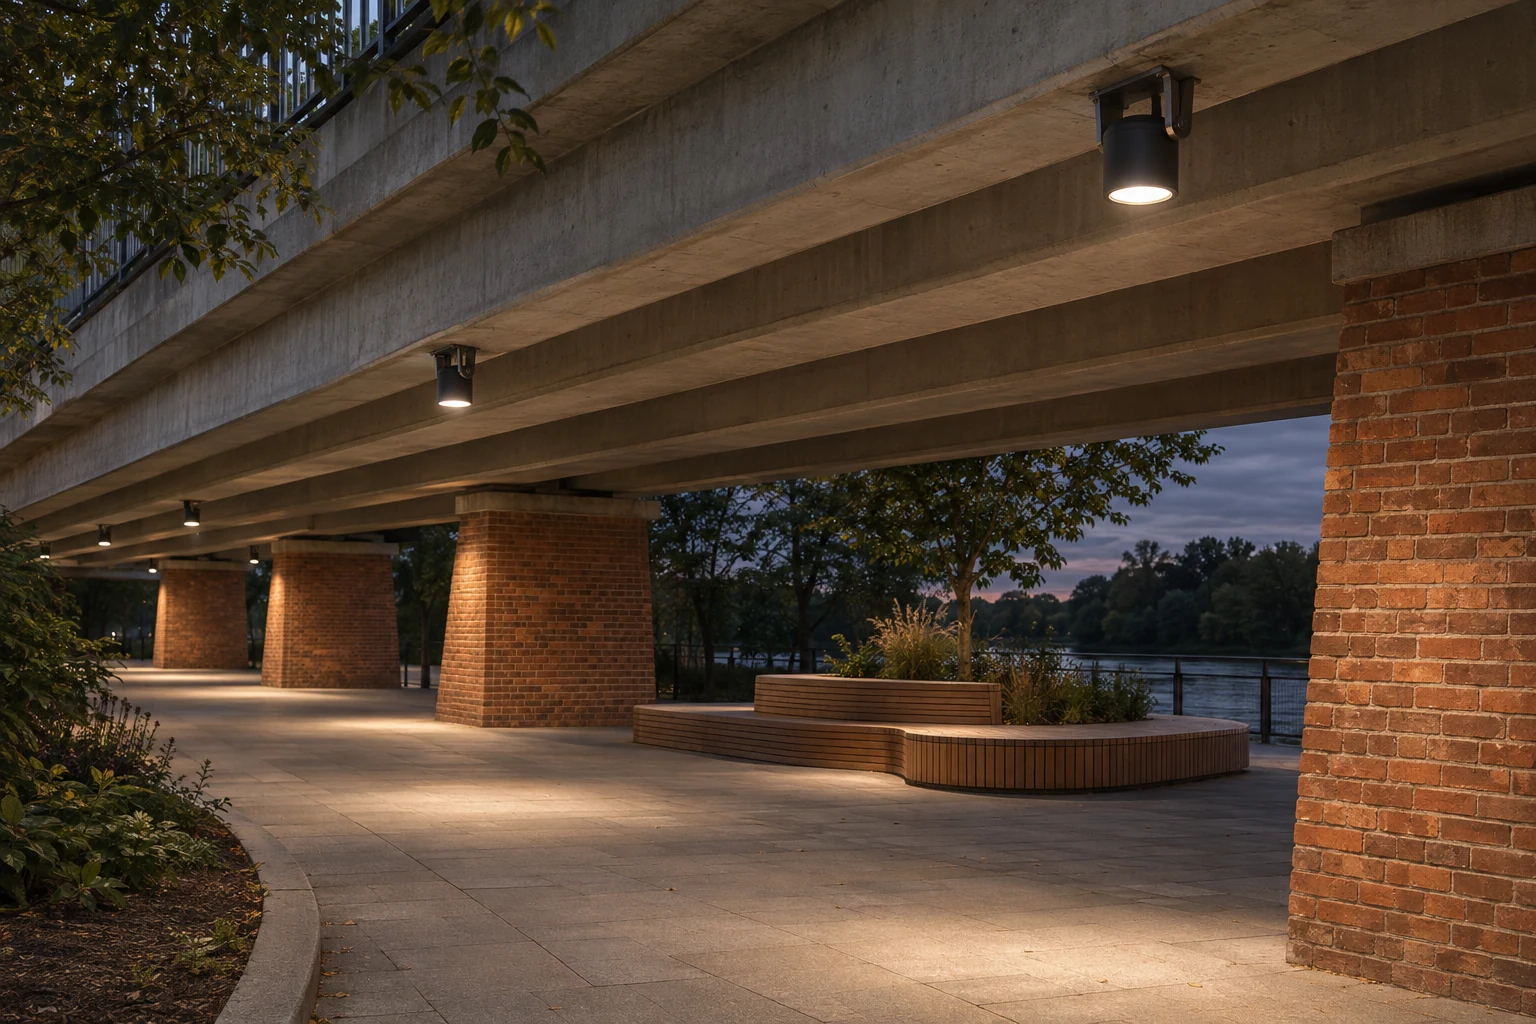
Bridge underside lighting usually does two different jobs. A pier-base light points up to reveal the column and the underside of the span. A luminaire in the soffit, the underside surface itself, points down to light the quay or path below. Put both beams on the same bridge section and mark where each one ends. One helps people read the structure from the bank. The other helps people see the route under it. The drawing should show which function each fixture serves, even when the two effects overlap in a photograph.
Draw the recess and beam together. If an adjustable optic sits behind a thick lip, turn it to the proposed angle on the sample: the rim can clip the beam even when the fixture fits in the hole. This is also where the beam angle choice is settled, not in the catalogue.
• Soffit downlights: check where the light lands on the quay and whether a walker can see the bright source on approach.
• Pier uplights: check that the beam stays on the intended surface from the opposite bank as well as close to the pier, and that it does not spill into the sky or onto the water more than intended.
3. Make the sample prove fit, fixing and access
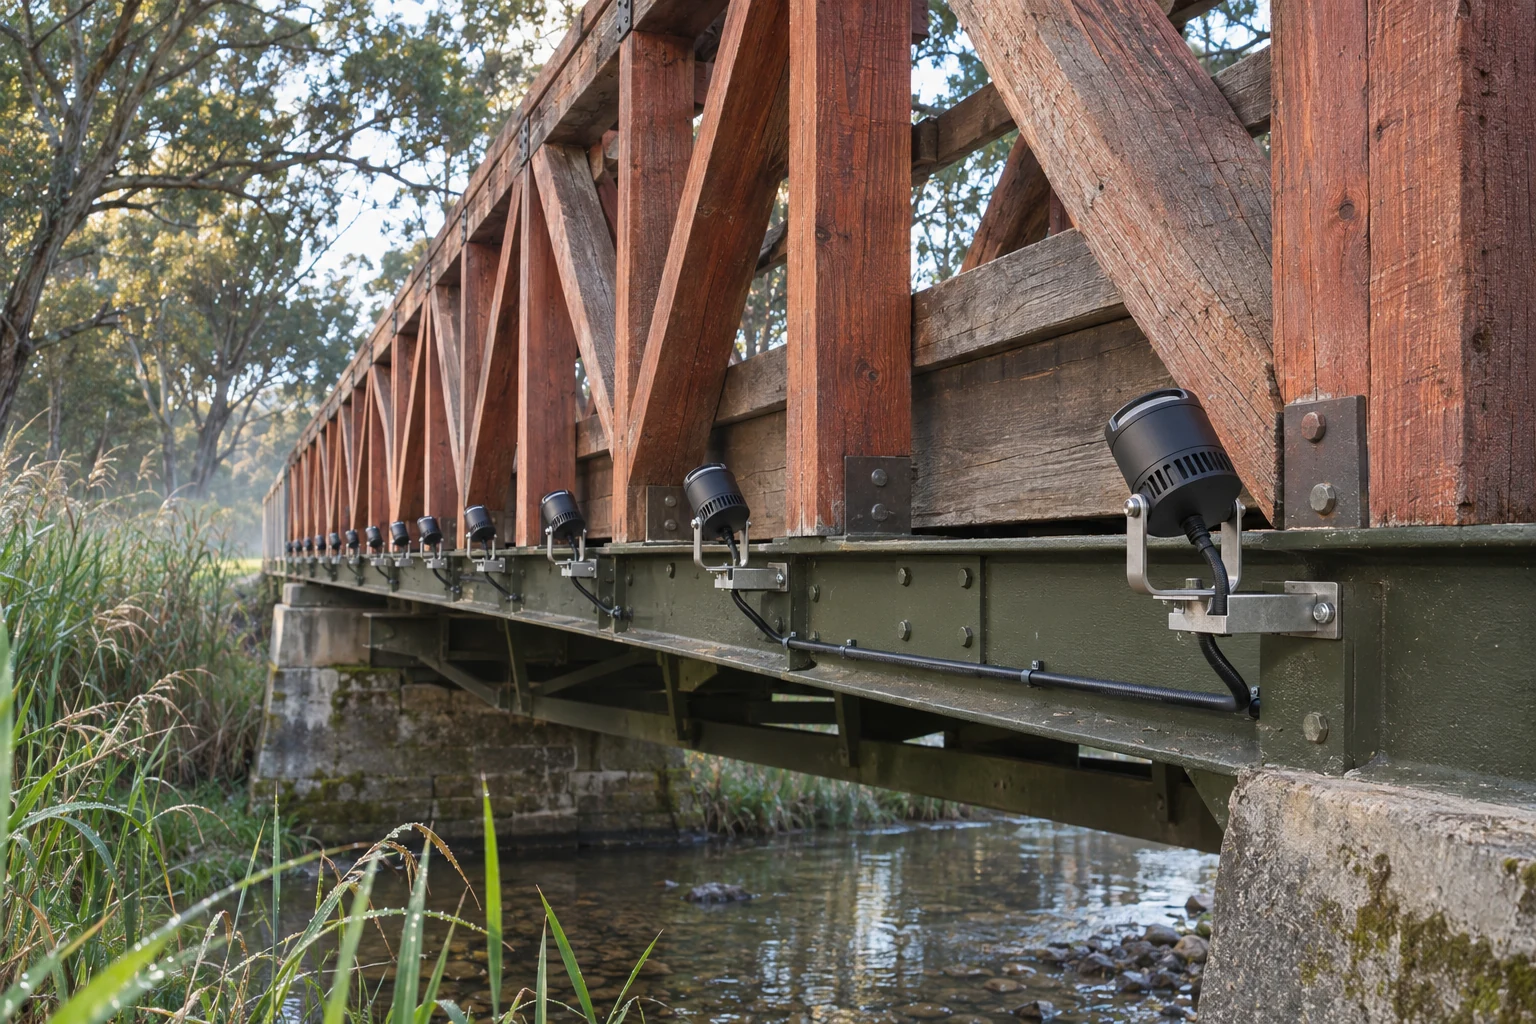
Bring a production-intent sample to a representative recess, complete with the proposed bracket, connector and cable. Check that the installer can seat the unit, tighten the fixings and set the angle with the tools available on site. Then reverse the sequence. A bracket that blocks the connector, or a tool that cannot turn inside the pocket, will turn every future lamp change into extra work.
Bridges add two conditions that a facade retrofit rarely has. Traffic and wind keep the structure moving, so ask for vibration-resistant fixings and a locking method the bridge engineer accepts. And fixtures near the deck or within reach of passers-by need suitable impact resistance; our guide to IK ratings for bridge and landscape lighting explains what to specify.
Where an old recess cannot be reused, a surface or bracket-mounted fixture may be the better answer. LNJAMI can supply standard brackets or custom brackets made to the measured recess or mounting surface, and can send samples for this test-fit stage.
Agree in advance who can reject a recess. A missing fastener, damaged sealing surface or blocked drain should go back to the bridge team before the retrofit proceeds at that location. Keep a fit record with a photo of the seated sample and the approved drawing revision, so purchasing can link each fixture variant to the recess group it was checked against.
Not sure an old recess can be reused? Send us the recess sizes and photos for a free project consultation →
4. Check corrosion and water before you reuse old housings
The underside of a bridge is damp, shaded and often exposed to splash, de-icing salt or sea air. Before reusing a retained enclosure, inspect the sealing faces and drainage path, and ask for housings and fasteners suited to the site. On coastal or salted bridges, a salt-spray test report is a reasonable request: check the lab, the report number and the before/after photos. Our articles on corrosion-resistant lighting for coastal projects and how to read a salt-spray test report cover what to look for.
5. Pair each night test with a viewing position
Run the pier uplights on their own first. Record the aim and inspect the pier base, the span and reflections from the agreed bank viewpoints. Switch them off and walk the quay with the soffit downlights on, looking at junctions, changes in level and the route as a whole. Where the project sets a lighting level, measure it at the points agreed with the designer. Switch both systems on last and review the transition between them. Save the final dimming settings and photos against the fixture IDs.
6. What to send for a bridge retrofit quote
To quote a bridge underside LED lighting retrofit accurately, send us:
• the recess schedule with IDs, opening sizes and usable depths;
• a dimensioned bridge section with the two beam directions marked;
• site photos of empty recesses and mounting surfaces, with a scale in view;
• the target surfaces and any required lighting levels;
• the control interface (on/off, 0–10V, DALI or DMX) and the supply voltage.
The LNJAMI outdoor range includes in-ground lights for pier bases and floodlights for soffit and bracket mounting. For the fixtures you shortlist, we can provide dimension drawings and IES photometric files measured on our own photometric test equipment, so your designer can check the beam from each recess. Confirm the bracket and service access for the exact configuration you are reviewing.
FAQ
Can LED fixtures fit into old bridge light recesses?
Often, but the usable depth is usually less than the opening suggests. Measure to the first internal obstruction and test-fit a sample with its bracket and cable before ordering.
Should every recess on the bridge get the same fixture?
Not necessarily. Group recesses by size, depth and lighting task. One fixture variant per group is usually easier to supply and maintain than one per location.
What if an old recess is damaged or too shallow?
Report it to the bridge team before the retrofit continues there. A surface or bracket-mounted fixture, or a custom bracket, may be a better solution than forcing a fit.
Do I need a mock-up for a bridge underside retrofit?
Yes, at least one representative bay. A night test checks aim, glare and the balance between uplight and downlight, which drawings cannot fully show.
For more background, see 10 ideas for planning a bridge lighting design and our bridge lighting solutions.
Get a free project consultation
Send us your recess schedule, bridge section and site photos. We can suggest in-ground lights, floodlights or custom brackets for each recess group, provide IES files for the shortlisted fixtures and send samples for a test fit.