Shielded LED Bollard Lighting for Paths, Bends and Ramps
Short answer: shielded LED bollard lighting works best when you plan it around the places people need to read the path, such as bends, ramps, junctions and steps, rather than spacing identical bollards evenly along the plan. Pick the optic first, confirm the spacing with a calculation, then walk a sample from both directions to check coverage and glare.
This guide covers how we approach path bollards on resort, campus and park projects: route mapping, layout comparison, spacing, sample testing and the drawings the installer needs.
1. Lay out the path before laying out the bollards
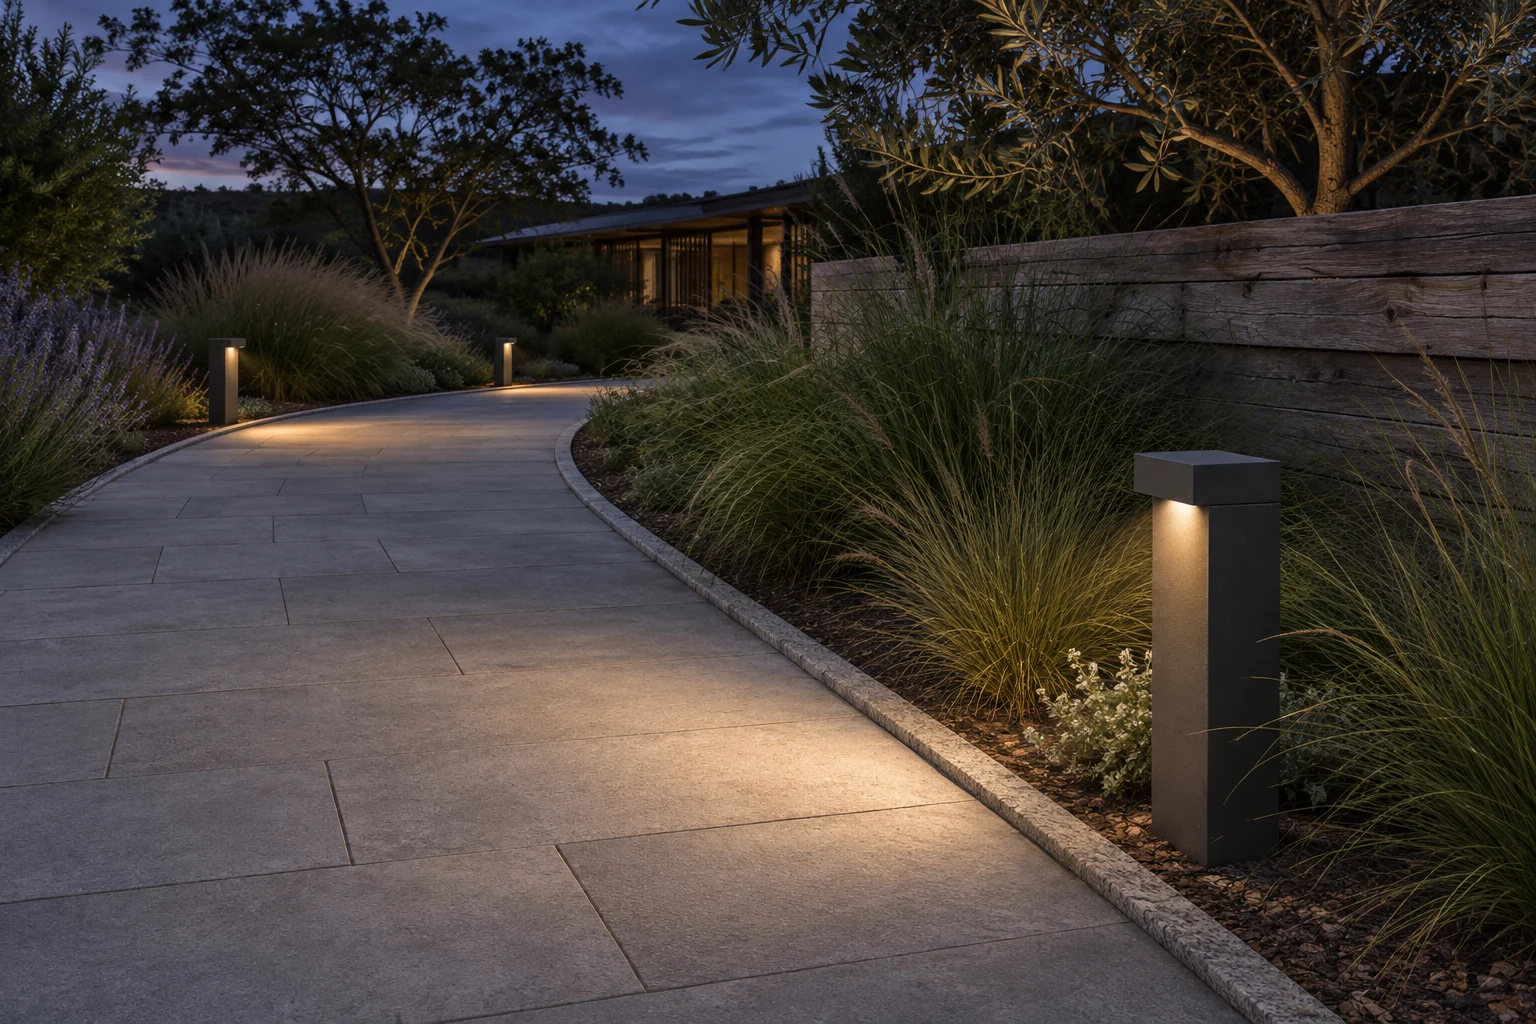
On a resort path, the troublesome patch is often where the straight run ends. Someone coming from the lobby has to recognise a bend, see the far edge of the paving and notice a change in level. A row of identical bollards at equal intervals can still leave that junction hard to read after dark.
Mark the routes people actually take, including service doors, crossings, benches, ramps and the approach from both directions. Put the lighting calculation grid over the usable walking surface, not the whole landscape. Give bends, ramp landings and changes in level their own check points: a good-looking average for the whole path can hide them.
Mark the areas that should stay dark as well, such as planting beds, water edges, bedroom windows and habitat zones. Those limits decide which way each bollard should face.
2. Choose the optic: 360° or directional shielded bollards
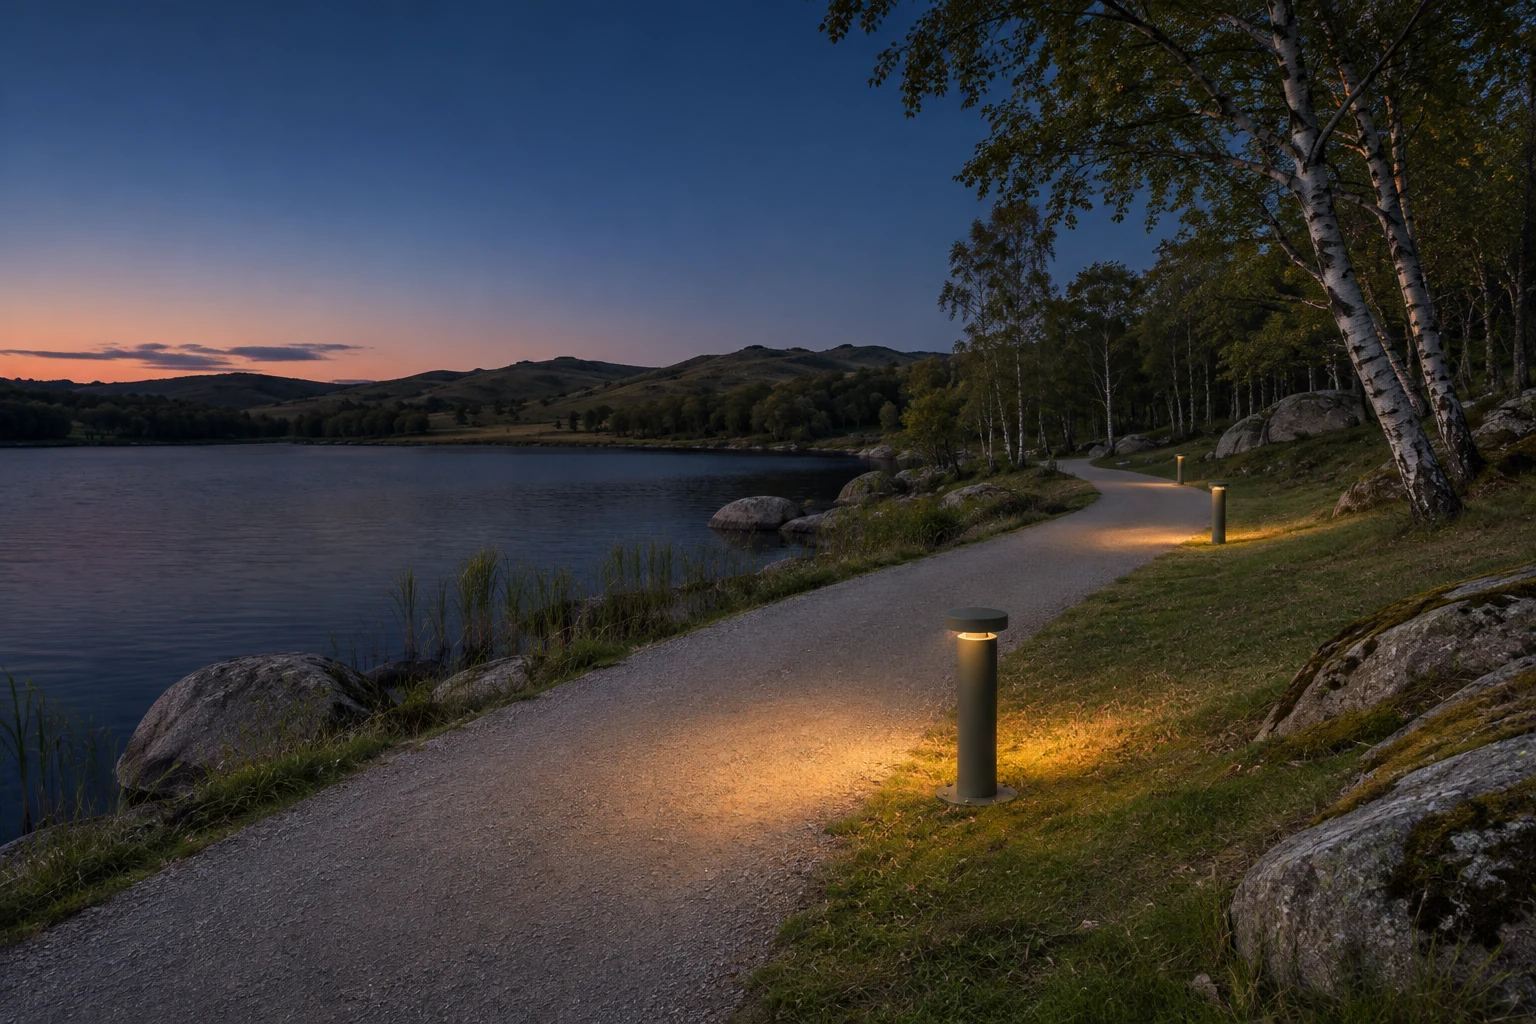
A shielded LED bollard sends light down and sideways across the paving while screening the bright source from an approaching pedestrian. There are two main types:
- 360° shielded bollards light all around the post. They suit open plazas and paths with use on both sides.
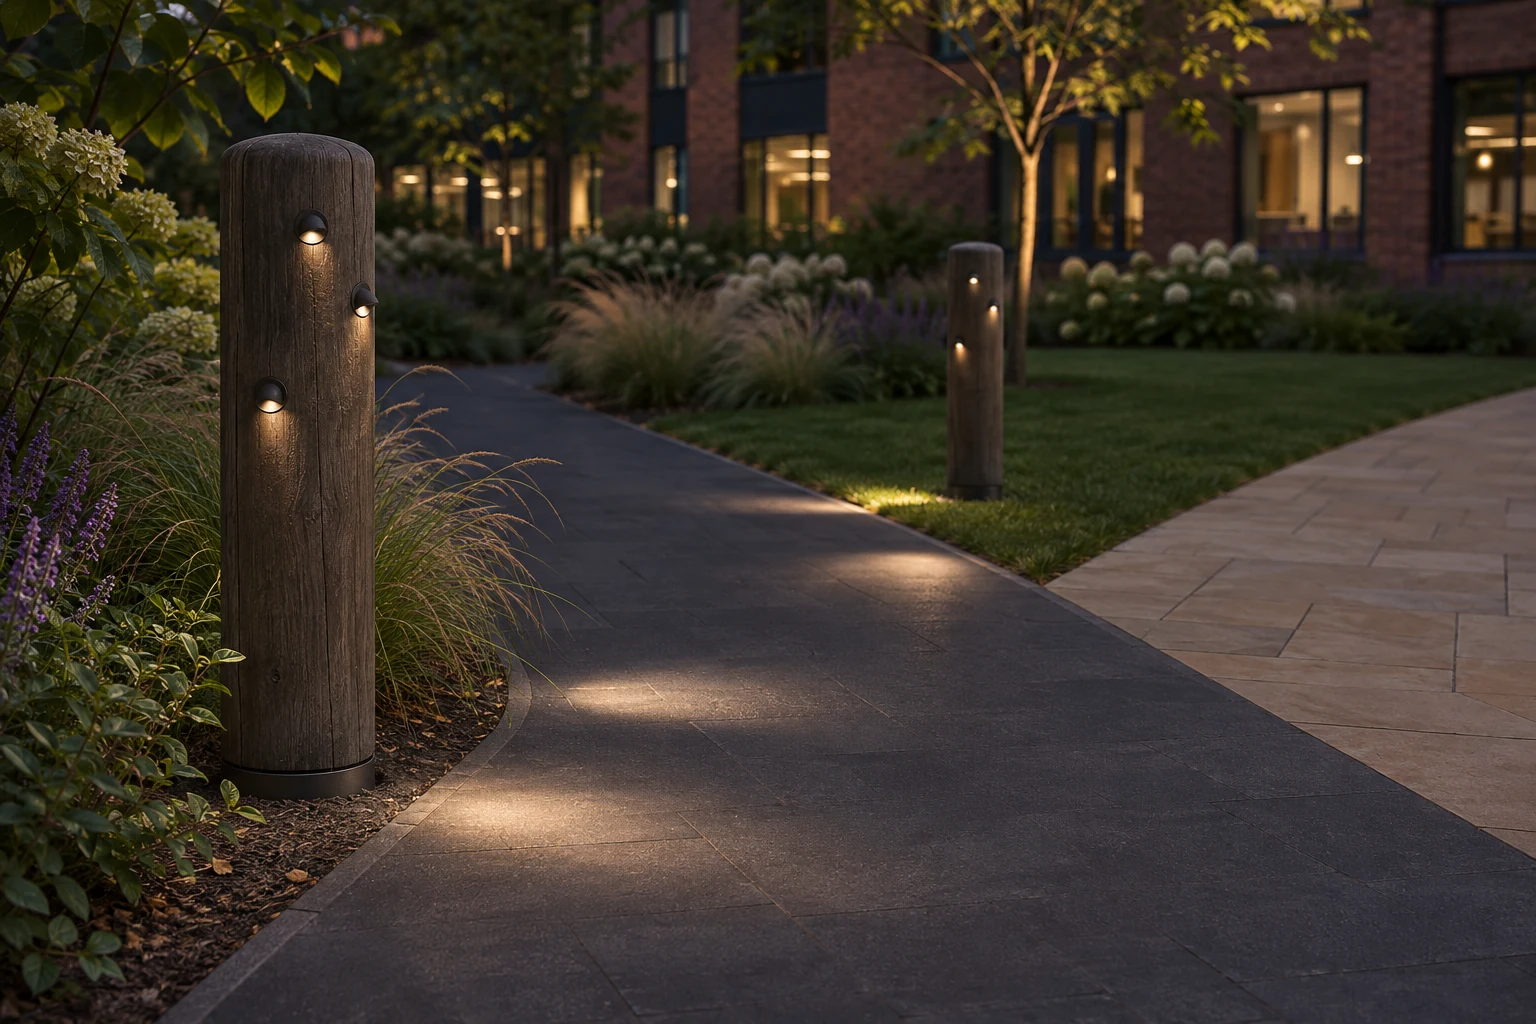
- Directional (asymmetric) bollards push light across the path and away from planting, water or buildings. They suit narrow paths beside a sensitive edge.
Our article on symmetrical vs asymmetrical lighting explains the difference in more detail.
For outdoor paths, a warm colour temperature of 3000K or lower is the usual starting point where dark-sky guidance applies. If the project follows DarkSky or IES principles, ask for the fixture's BUG rating and confirm that no light is emitted above the horizontal. See how anti-glare lighting works for the shielding side of the question.
3. Compare one-sided and staggered layouts with the same fixture
For a narrow path beside planting, start with a one-sided layout calculated with the actual directional photometry, and mark which way the light opening faces. If the far edge stays dark, or the path widens at a junction, test a staggered layout or a separate light for the junction on the same calculation plan. Keep the fixture, optic and output identical between the options, so you are comparing the layout and not the product.
4. How far apart should bollard lights be?
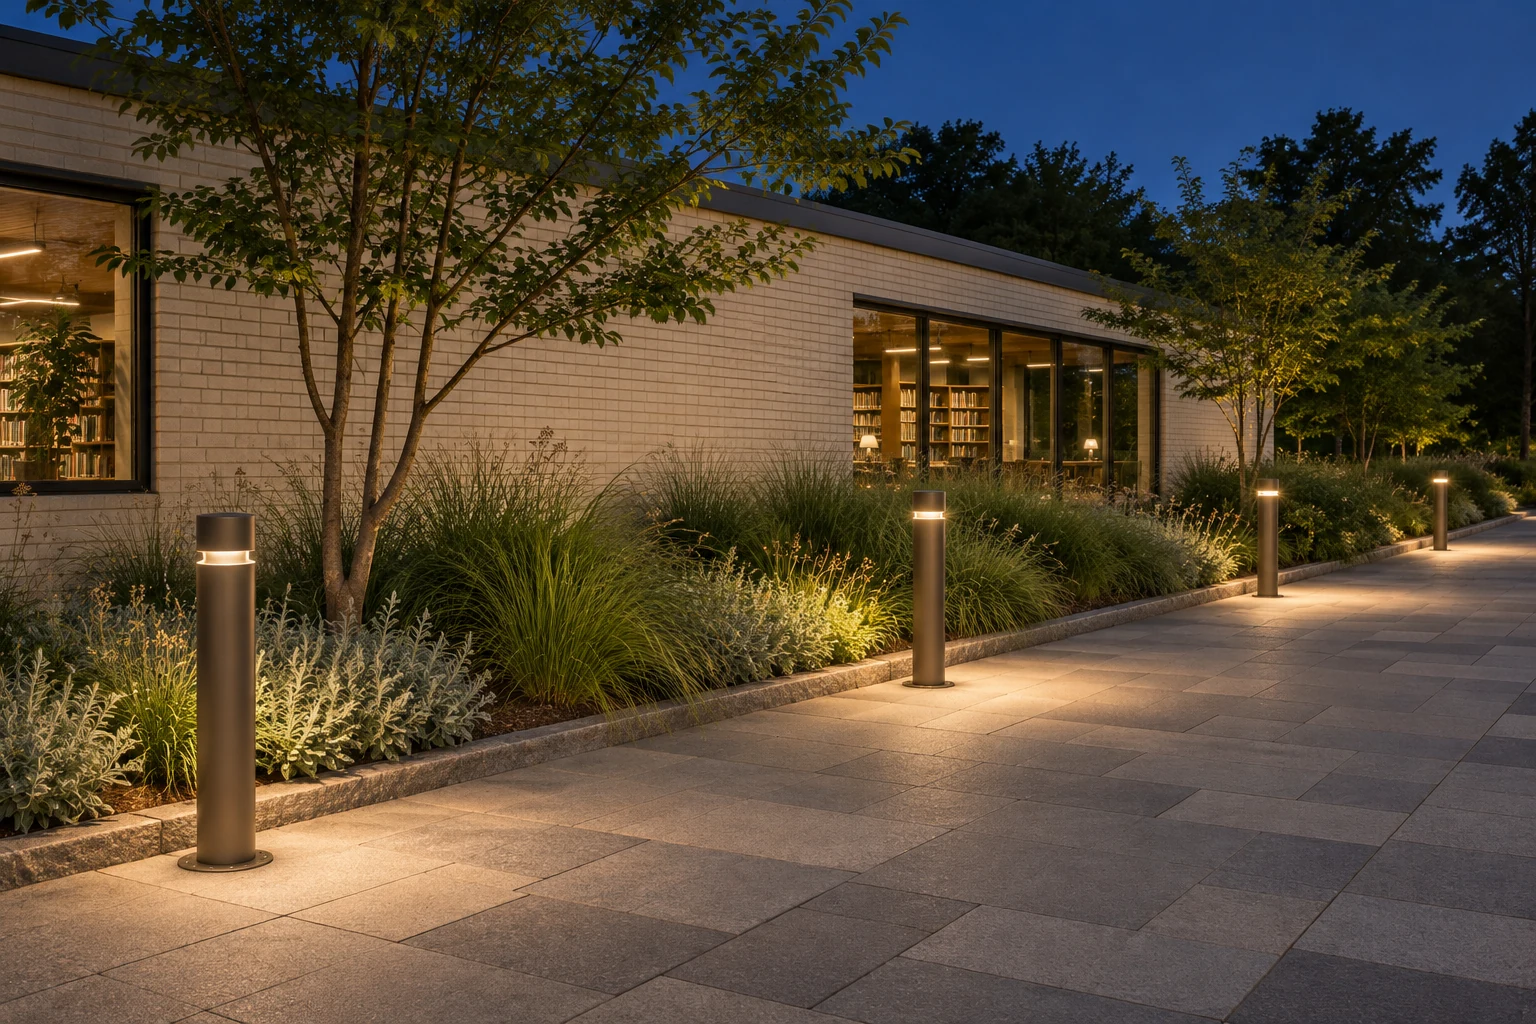
Many path layouts start with bollards roughly 8 to 10 feet (about 2.5 to 3 m) apart for typical 3 to 4 ft (0.9 to 1.2 m) bollards. Treat that as a starting point, not a rule. The right spacing depends on the optic, mounting height, output, path width and the lowest level the project allows between fixtures.
Think of spacing as overlap between pools of light. Raising the head can make the light reach further, but it may also make the aperture visible from a new position. Increasing output often brightens the area under the fixture more than the gap between two fixtures. Before adjusting spacing, compare:
- the lowest calculated or measured point between bollards;
- uniformity along and across the path;
- whether the light opening is visible from normal walking positions.
5. Walk the sample from both ends
Set out a short sample with the proposed height, optic, shields and paving material. Include a bend or level change if the project has one. Walk it in both directions at the intended operating level. Check from a seated or lower eye height near a bench or ramp, and repeat once the surrounding lights are on. You should be able to follow the kerb without a bright opening pulling your eye away from the route.
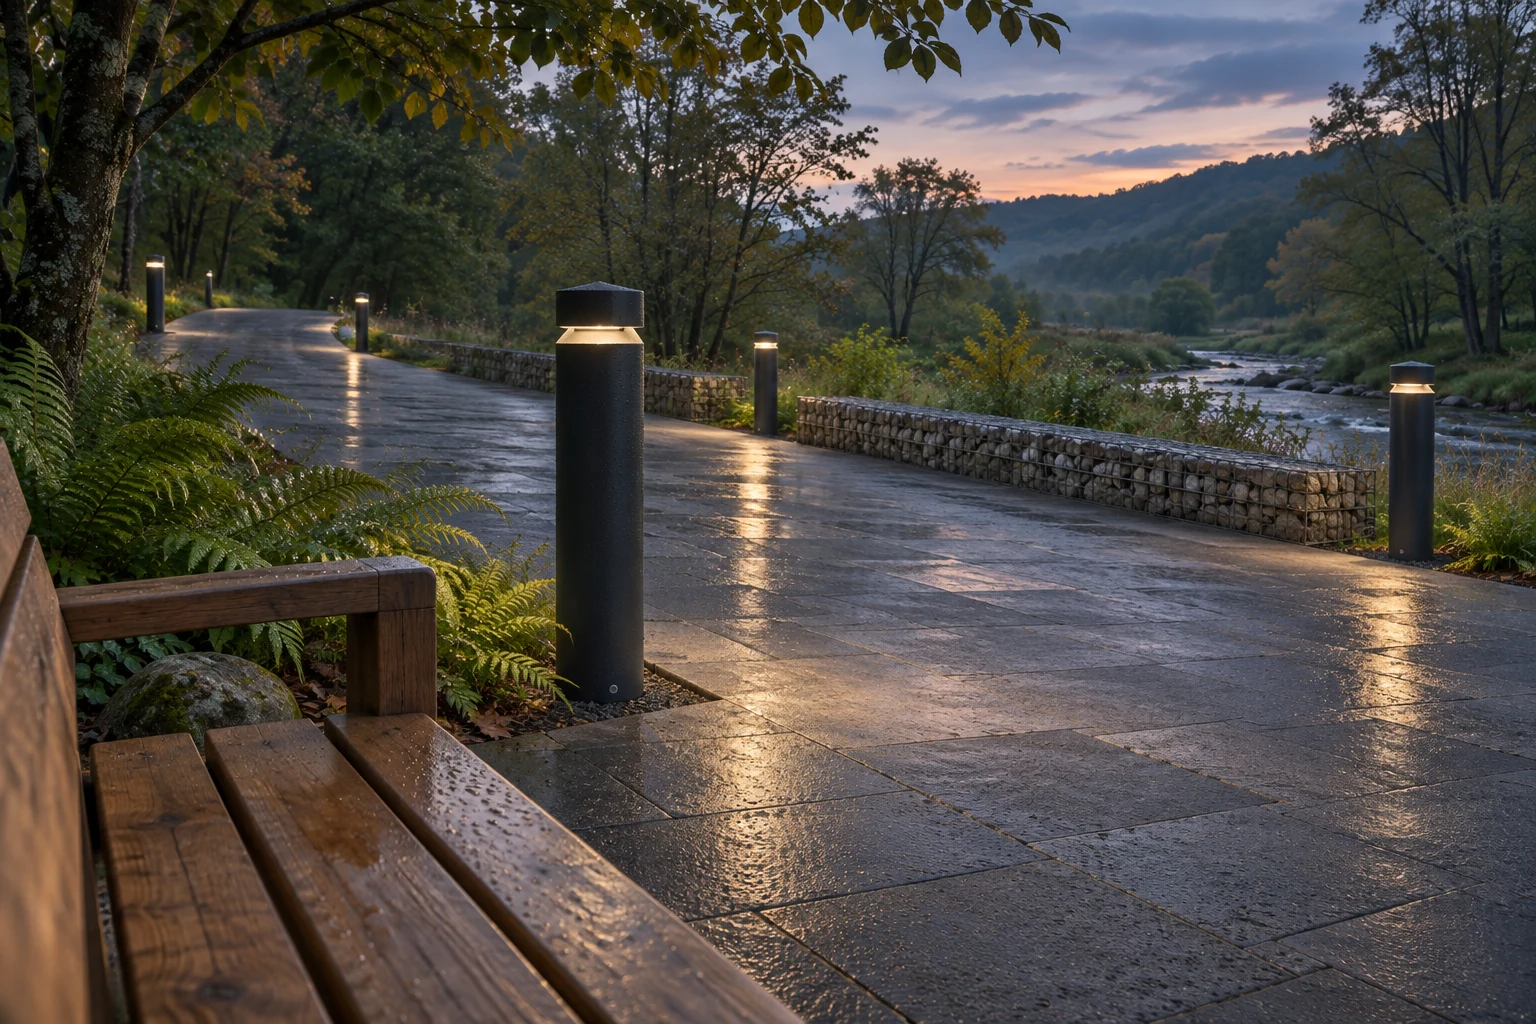
Record the agreed check points and judge the result against the project's lighting and accessibility requirements. Take photos at the same exposure, so one bright fixture does not make the comparison misleading. Look for shrubs or grasses that will eventually shade the path: a bollard that works over bare soil can lose useful coverage once planting fills in.
For example, where a path bends around a planter, take three readings across the paving at the turn, at the inside edge, the centre and the outer edge, then repeat between bollards on the straight section. These spot checks explain a dark edge or a sudden change in light. Keep the full project measurement grid for formal acceptance.
6. Show the installation team which way each head faces
On the issued layout, draw an arrow at each directional bollard. Give the crew the base detail, cable entry and finished height. Before concrete is poured, check the base against irrigation lines, maintenance routes and the clear path width. Record the fixture version and optic next to the approved sample photos, so a future replacement reproduces the same light distribution.
7. What to send for a bollard lighting enquiry
For an LNJAMI project enquiry, share:
- path widths and paving material;
- a marked-up plan showing bends, ramps, steps and junctions;
- areas where light must be kept out;
- preferred bollard height, colour temperature and finish;
- the control method and any dimming requirements.
For the LED lawn and bollard lights you shortlist, we can provide IES photometric files measured on our own photometric test equipment, so your designer can check the layout with the actual fitting. We can also supply mounting details and samples for the walk-through test.
FAQ
What is a shielded LED bollard?
It is a bollard whose light source is hidden behind a cap, louvre or recessed opening, so light falls on the ground instead of into people's eyes or the night sky.
Should bollards go on one side of the path or both?
Narrow paths usually work with one side, using a directional optic. Wider paths, junctions and plazas may need a staggered layout or extra fixtures. Compare both with the same photometry.
What colour temperature is best for path bollards?
Warm white, typically 2700K to 3000K, suits most landscape paths and dark-sky guidance. Match the colour temperature to the rest of the site lighting.
Why do bends and ramps need extra checks?
They are where people most need to read the edge and the level of the path, and where an average illuminance figure can hide a dark spot.
For the bigger picture, see our complete guide to park lighting design and integrating lighting with landscape architecture.
Planning a project? Send us your drawings and site photos for a free project consultation →