Outdoor Lighting Waterproofing: A Pre-Handover Checklist

The lights are on, the paving is finished, and the handover meeting is booked. Then someone asks where the cable joints are. The electrician points to the drawing. The landscape contractor says the paving level changed. The maintenance team wants to know which slabs can be lifted. These are the questions worth settling while the installation is still accessible.
For outdoor lighting waterproofing, a useful handover record connects the approved product to the actual installation. It shows what was supplied, where the connections ended up, how water leaves the surrounding area and what changed during final adjustments. The five checkpoints below are a suggested project workflow, to be agreed with the responsible designer, contractors and owner. They supplement the selected product’s instructions and project requirements.
CHECKPOINT 01 / BEFORE INSTALLATION
Check what arrived against what was approved
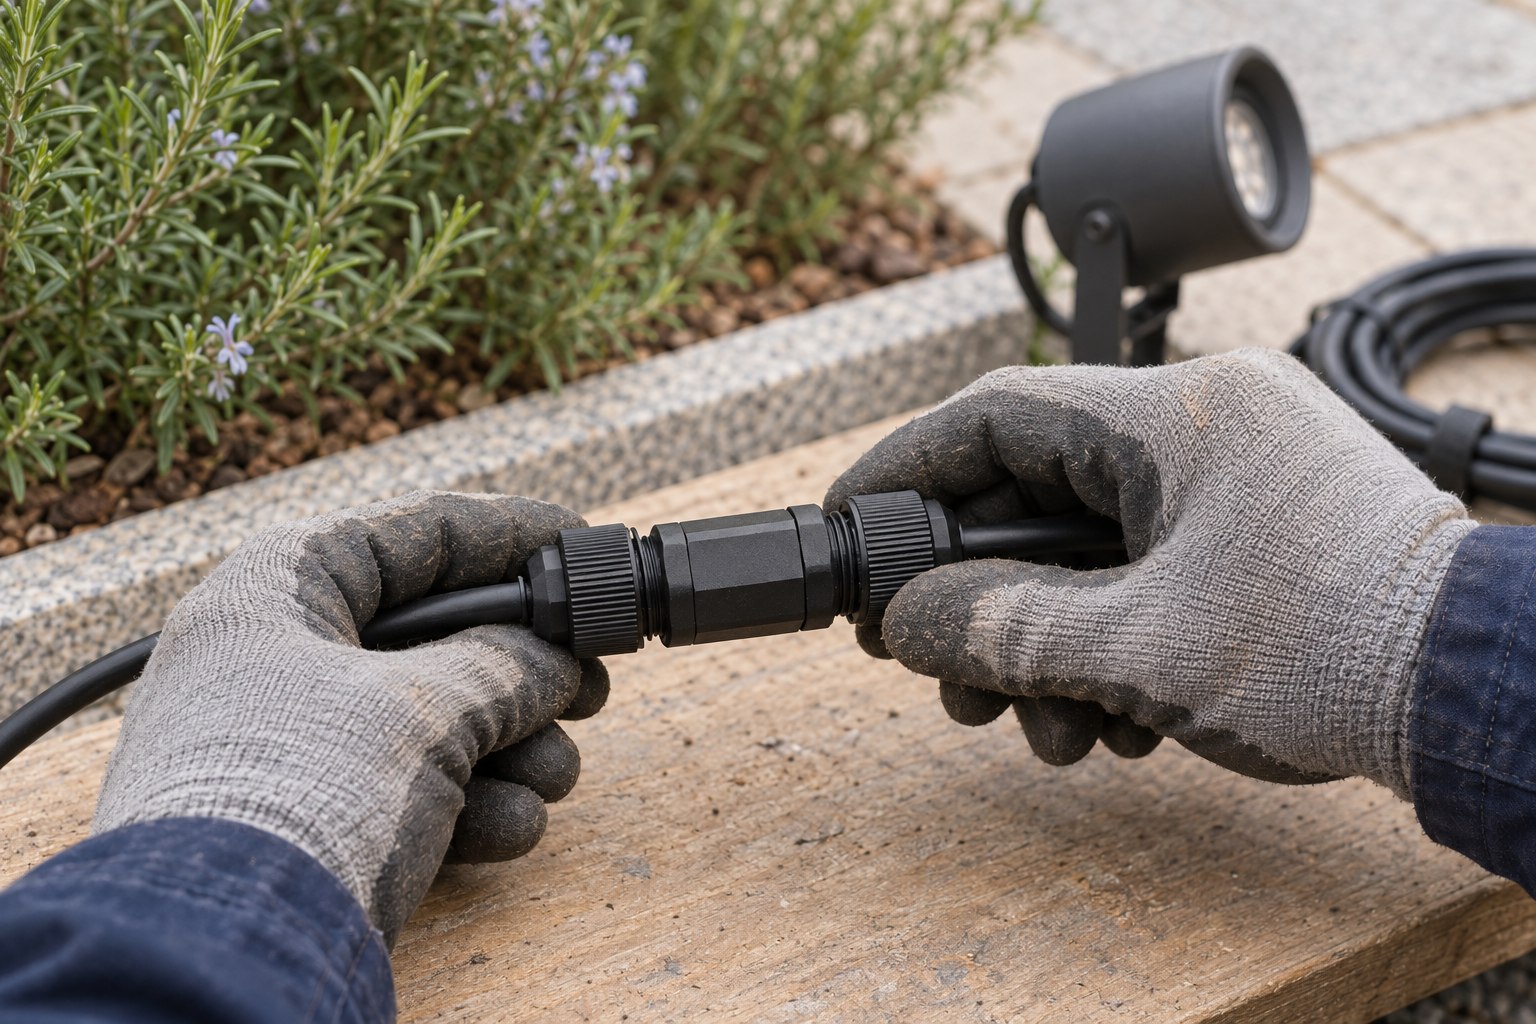
Start with a location code, not a pile of certificates. For each installation type, link the luminaire model to its cable, connector, remote driver enclosure where used, and approved mounting detail. A report for one fixture does not establish the suitability of a different field connection. If a cable or connector has been substituted, record the change and obtain a technical decision before that assembly is repeated across the site.
For a fixture near a fountain, for example, the unresolved question may be the depth and duration of immersion at that location. On a façade, it may be the cable entry orientation or access to a connector behind cladding. Keep the question attached to that location until it has an answer. File the relevant product documentation alongside it; a general guide to IP ratings is background reading, while approval needs evidence for the supplied configuration.
Keep: location code, approved configuration, document revision and any substitution decision. Leave unresolved substitutions open.
CHECKPOINT 02 / BEFORE REPEATING THE DETAIL
Approve one complete installation detail
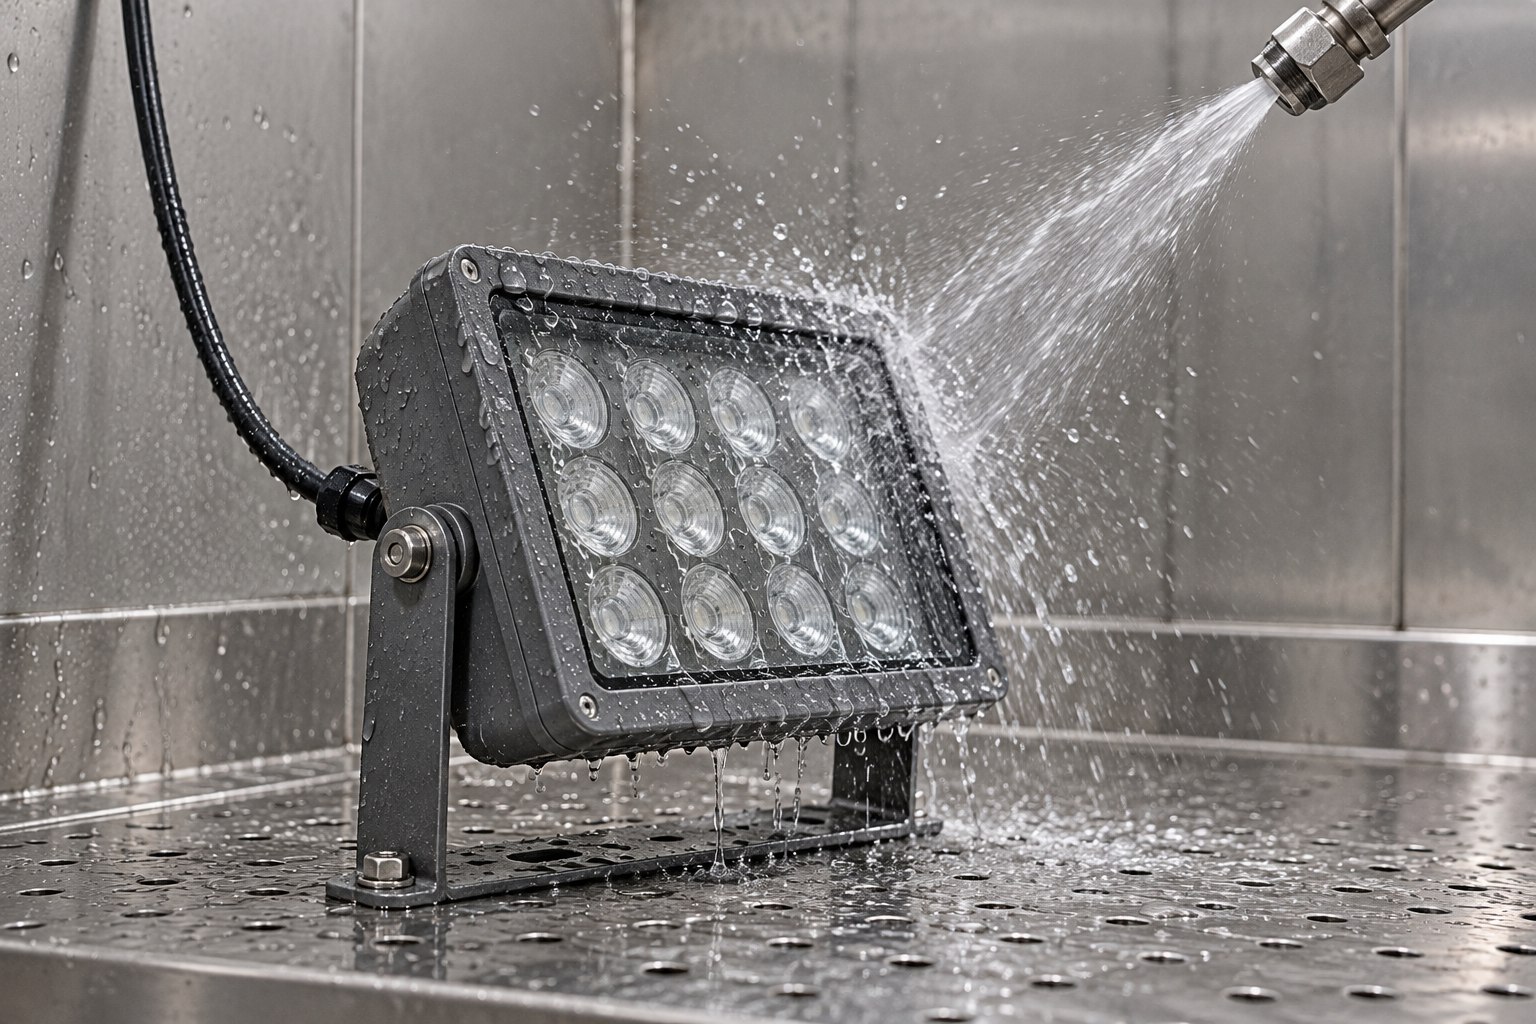
A loose sample on a desk cannot show whether the installer can reach a compression gland once the bracket is fixed. Build one representative assembly using the proposed cable route, connector, mounting angle and access space. For a long run of LED wall washers, check the end connection and any extension joint as well as the middle of the run. A different recess or connection arrangement needs its own review.
Use the sample to settle assembly questions before they spread: cable diameter compatibility, connector access and the manufacturer’s tightening instructions. If the project calls for a water exposure check, agree its procedure and acceptance criteria in writing with the responsible engineer and supplier. An improvised hose test is not an IEC IP test, and a photograph of a wet luminaire is not a test report. Laboratory evidence and site workmanship checks serve different purposes.
Keep: approved sample photographs, assembly instructions and the scope of any agreed test. Recheck whenever the assembly changes.
CHECKPOINT 03 / BEFORE COVERING UP
Record the connections while you can still see them
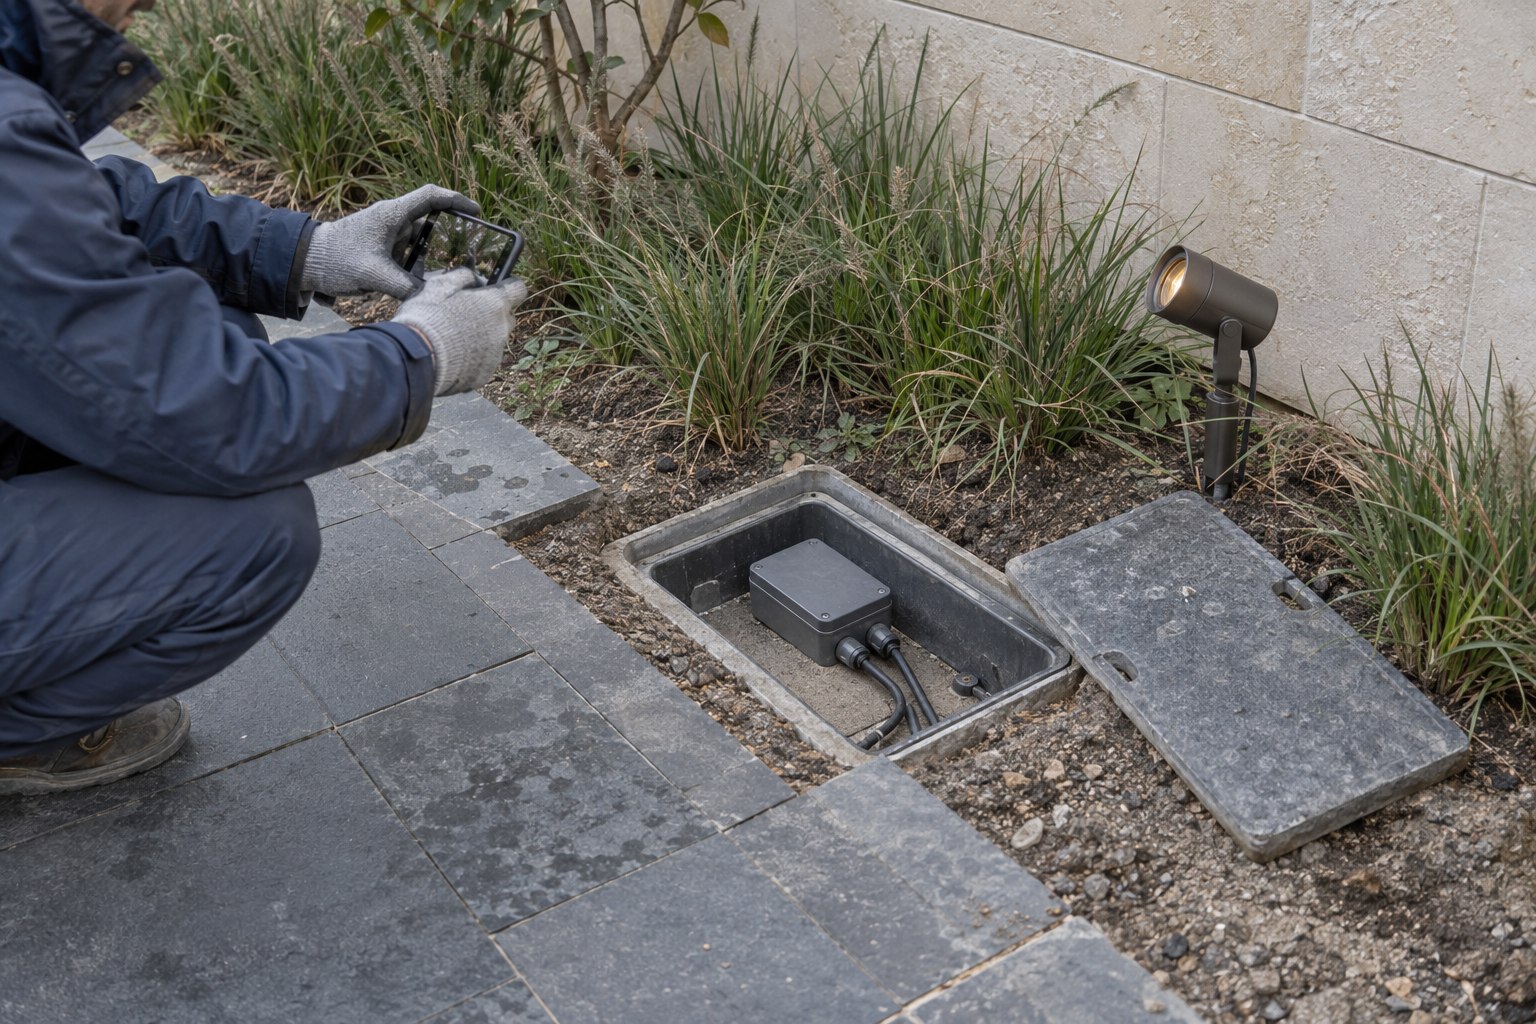
Arrange a joint inspection before backfilling, closing façade panels or laying the final paving. For each connection covered by the inspection plan, take one photograph that locates it in the building or landscape and another that shows the detail. Use the same location code on the photograph, drawing and inspection sheet. Ten close-ups of identical black connectors are of little use if nobody can tell where they belong.
Agree who releases this stage before work begins. The electrical contractor can record the connection assembly; the façade or landscape contractor can confirm access and the surrounding construction; the designated reviewer can close the item under the project’s inspection plan. Where evidence is missing, decide how the detail will be verified before concealing it. A supplier can clarify its product requirements, but cannot verify an unseen connection from a product datasheet.
Keep: a location photograph, detail photograph, drawing reference and reviewer/date. Update the record after any rework.
CHECKPOINT 04 / AFTER LANDSCAPING
Inspect drainage after the surrounding work is finished
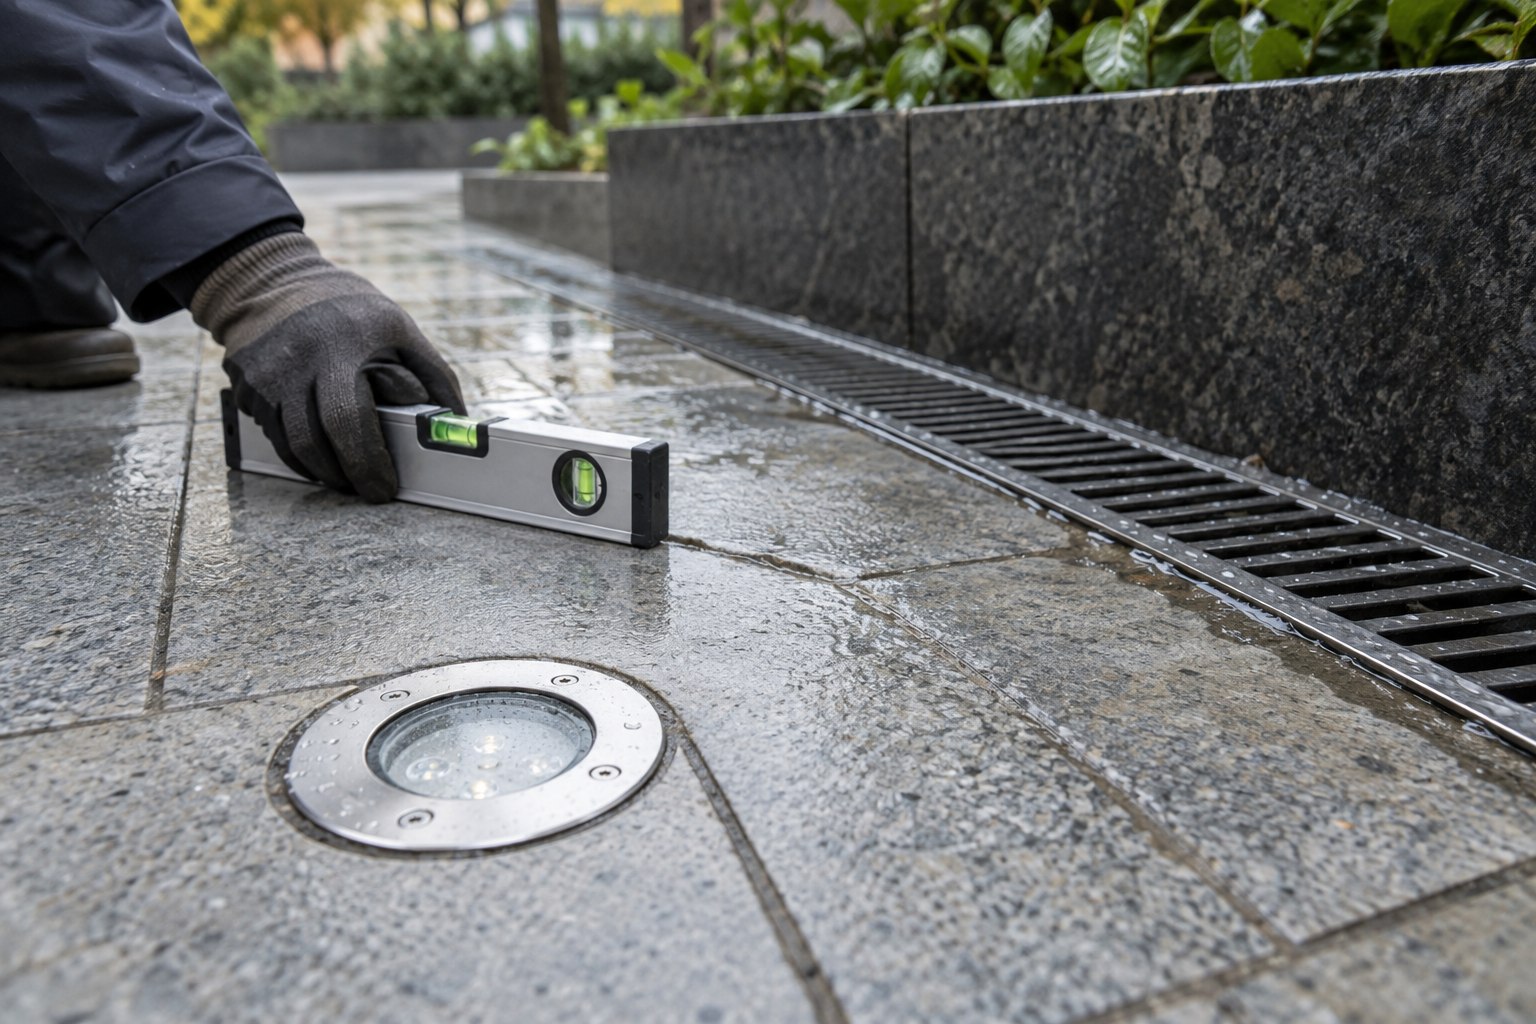
A recess that drained before landscaping may behave differently after paving, planting or irrigation changes. For LED underground lights, inspect the final surface level, nearby runoff and the drainage route required by the selected installation detail. Ask the landscape contractor to identify the outlet or intended infiltration route. A visible layer of stone alone does not establish that water can leave the recess.
Where rain observations or an agreed drainage check are available, record the start time, water location and subsequent observations. Compare the result with the project detail and the product’s permitted exposure. There is no single drain-down time suitable for every soil, fitting and site. If the condition is outside the approved design, record a drainage defect and resolve it with the responsible team before closing the inspection item.
Keep: finished-level photographs, drainage route, observation conditions and follow-up result. Repeat the review if levels or irrigation change.
CHECKPOINT 05 / AFTER FINAL ADJUSTMENTS
Recheck anything touched during aiming or cleaning
Night aiming can change more than the light pattern. A rotated fitting may pull on a cable; a relocated driver box may leave a connector in a different position; a replacement unit may introduce a different cable assembly. Keep a short change list during commissioning, then inspect the affected connections and seals after the last adjustment. The relevant record is the final installed condition, not the arrangement photographed a week earlier.
If fogging, visible internal water or an electrical fault is reported, keep the issue open and record the conditions rather than assigning a cause from appearance alone. Suspected ingress or electrical faults need assessment by qualified personnel, with affected equipment isolated as appropriate. Link the finding to the fixture and circuit, seek the manufacturer’s guidance, and document the authorized repair and recheck. Avoid unapproved drilling or resealing that changes the supplied enclosure.
Keep: the change list, outstanding defects, corrective actions and recheck results. Define any later weather observation and its owner explicitly.
WORKING TEMPLATE / PROJECT RECORD
Make the record useful to the next person
A handover folder should let a maintenance technician find an item without calling the original installer. Use the fields below for each relevant location or assembly type. Keep observations separate from conclusions: “water visible around the connector at the recorded time” describes what was found; “lamp seal defective” requires further evidence. Assign an action owner and reviewer so an open item cannot disappear between trades.
|
Field |
What to record |
|---|---|
|
Location and circuit |
Drawing reference, fixture ID, circuit and access route. |
|
Approved assembly |
Model, cable/connector details, document revision and approved changes. |
|
Observed condition |
Date, weather or agreed check conditions, photographs and factual findings. |
|
Action and ownership |
Open issue, agreed action, assigned person and target date. |
|
Recheck and status |
Recheck evidence, reviewer/date, and open, ready for review or closed status. |
For example, a record might identify connection J-14 beside planter P-03, note that the finished soil level now covers its intended access point, and assign the landscape and electrical contractors a coordinated correction. Close the item only after the revised location and connection have been checked and the drawing updated. This is an illustrative record, not a report from a completed LNJAMI project.
PROJECT SUPPORT / LNJAMI
Send the installation detail with the lighting enquiry
For an LNJAMI project enquiry, send the marked-up layout, luminaire schedule, proposed cable and connector arrangement, and photographs of any difficult recess or wet location. Ask which product documents and installation guidance apply to the proposed configuration. This gives the supplier specific questions to answer before procurement and gives your installer a clearer starting point on site.
LNJAMI supplies outdoor architectural and landscape luminaires and provides technical installation guidance. Site execution and acceptance remain with the appointed project team. Use the project enquiry page to discuss the product and connection details before they are hidden behind cladding or beneath finished paving.
LNJAMI · OUTDOOR ARCHITECTURAL & LANDSCAPE LIGHTING