Outdoor wall washer glare: check the view from the pavement
Lighting design & site practice
LNJAMI · ENGLISH
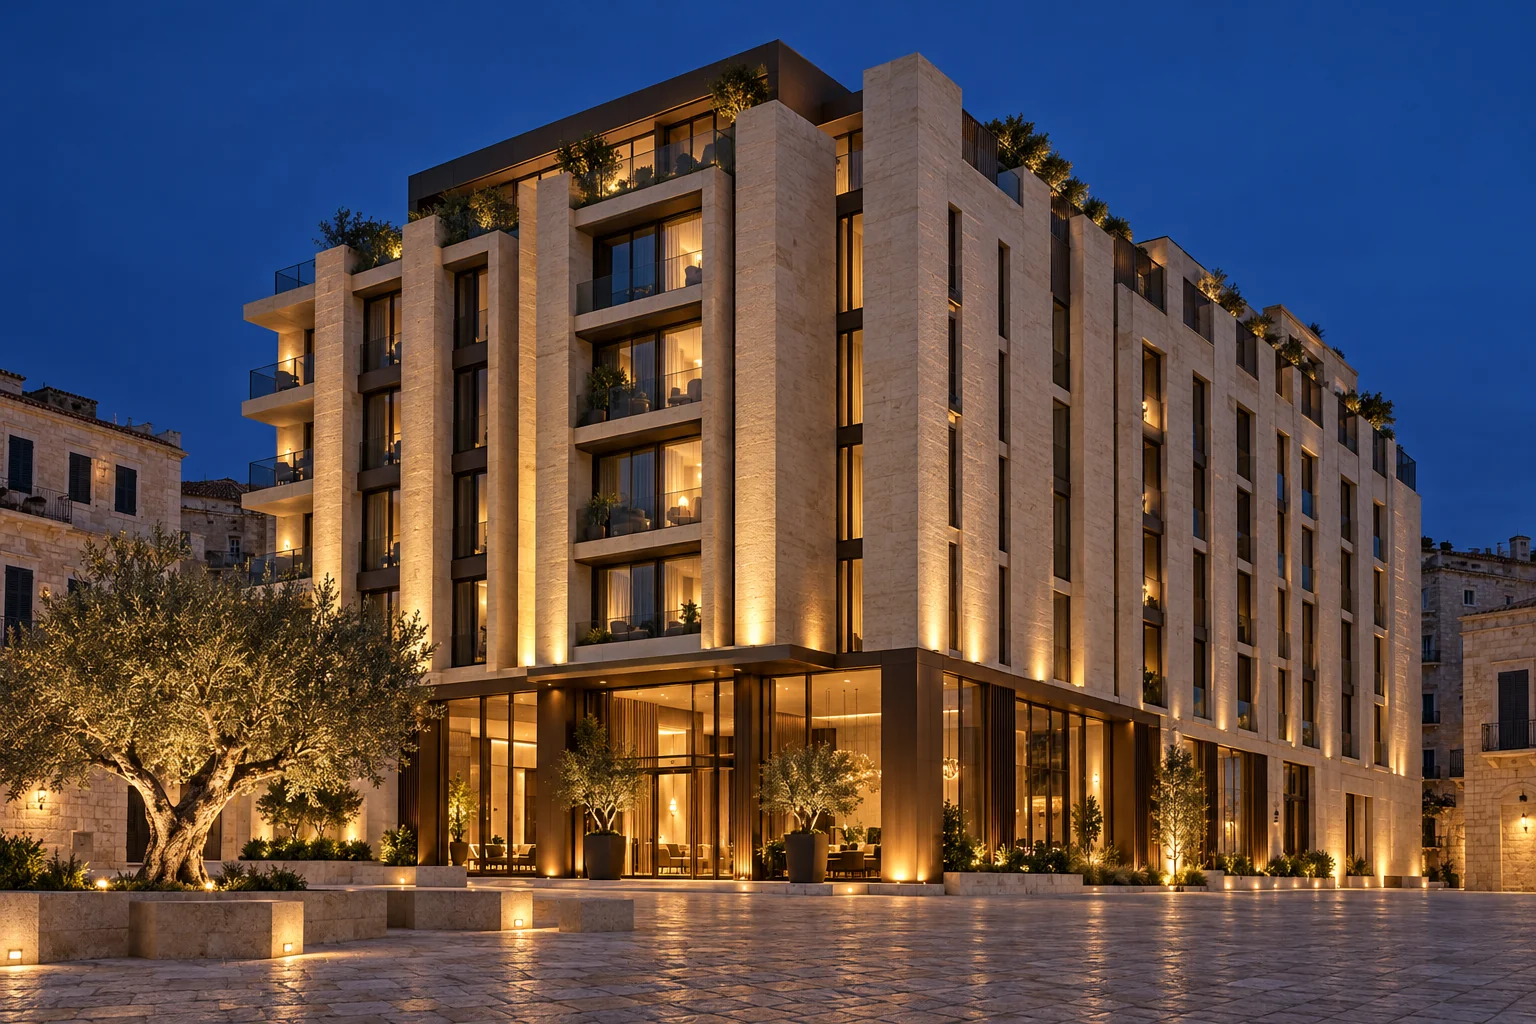
A facade can look balanced from across the road and feel uncomfortable on the pavement below it. The wall is evenly lit, yet a row of LED lenses catches your eye as you approach the entrance. A guest looking out from an upper window may see another problem entirely. For outdoor wall washer glare control, the place where someone stands is part of the specification.
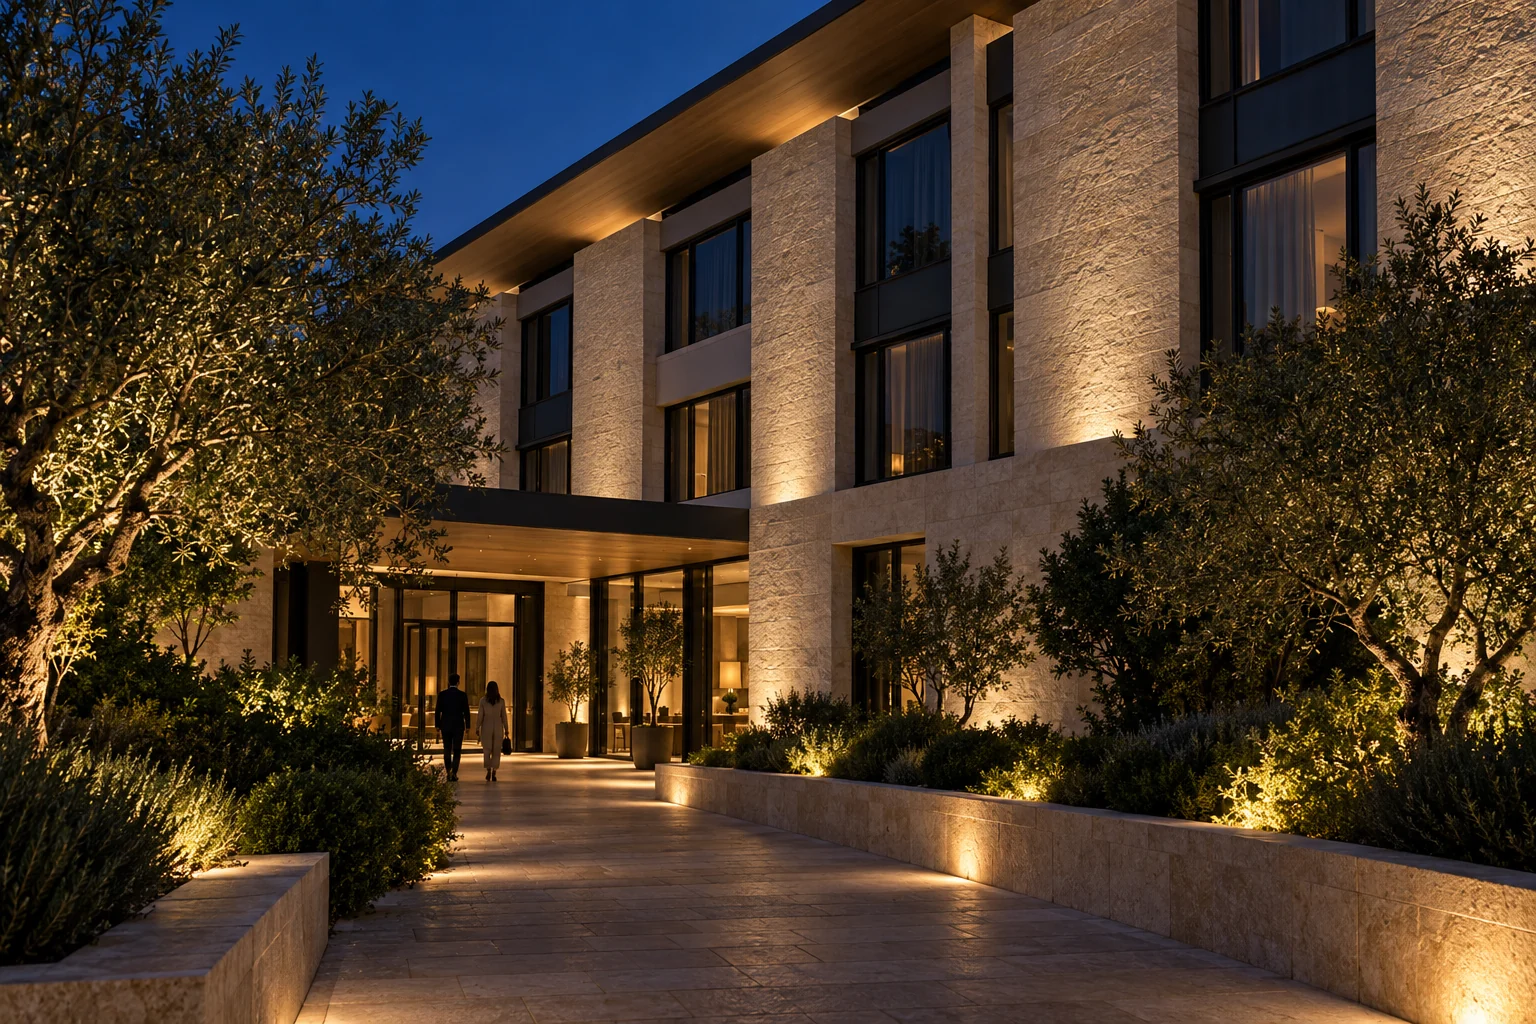
Check the approach to the entrance as well as the distant view of the building.
Find out which light is causing the complaint
Start at the reported position with the lighting in its normal evening scene. Is the person looking directly at a bright emitting surface, seeing a reflection on polished stone, or receiving unwanted light through a window? These can occur together, but a change that helps one may leave the others untouched. Ask the person to point out the offending area before anyone changes the aiming.
|
What you notice |
What to inspect |
A change worth testing |
|---|---|---|
|
Bright lenses visible along a walking route |
Sightline to the emitting aperture |
Position, aiming or a compatible shield; then recheck the whole route |
|
A sharp bright patch on a glossy surface |
Reflection from the actual finish, viewed from several positions |
Change incident angle or distribution and check the neighbouring views |
|
Light entering a bedroom window |
Beam footprint and aiming relative to the opening |
Redirect or restrict the beam; check from the affected room |
|
The whole wall feels too bright after closing time |
Output scene, surrounding darkness and operating schedule |
Try a lower late-night scene and an agreed switch-off time |
A shield is rather like the brim of a cap: it can block a particular line of sight. Its usefulness depends on where the light and the viewer sit. That is why an ‘anti-glare’ accessory in a catalogue cannot settle the question for every mounting arrangement.
Mark the viewing positions before changing the fixture
On a simple site plan, mark the entrance approach, the pavement in both directions, any nearby seating and the windows facing the installation. Include lower seated eye positions where people actually sit. A check made only at the centre of the elevation can miss a bright source that appears as someone turns a corner.
Record the fixture height, its distance from the wall and the aiming direction. Photograph the mounting detail in daylight as well as the lit scene at night. Those few dimensions are much more useful to a supplier than a night photograph with no indication of where the camera was standing.
Work through position, aiming and optics
If the lenses are exposed to a busy walkway, test whether the fixture can sit behind an architectural lip or move to a less exposed position. The new location must still allow drainage, ventilation, secure fixing and maintenance as required by the product instructions. Moving it a little farther from the wall may change both the visible source and the light pattern, so assess both.
Adjust aiming within the manufacturer's permitted range and watch where the beam ends. Check the top of the wall, window openings and the opposite side of the path. Do not use a universal mounting angle or wall-distance ratio as a substitute for the selected optic's photometric data. Wall height, surface finish and the available mounting position all affect the choice.
A narrower beam may keep light off an unwanted area, but it is not automatically more comfortable to look towards. Ask the designer to compare the distributions available for the actual product. ERCO's facade lighting guidance identifies precise optics and glare control as important selection factors.
Check the shield with the light switched on
A visor, louvre or recessed mounting detail may hide the bright aperture from a troublesome viewpoint. It can also cut useful light off the wall or introduce a visible shadow. Test the exact fixture and accessory together. Request photometric data for that assembly where available, and check whether the shielding works from the ends of the linear fitting as well as from the front.
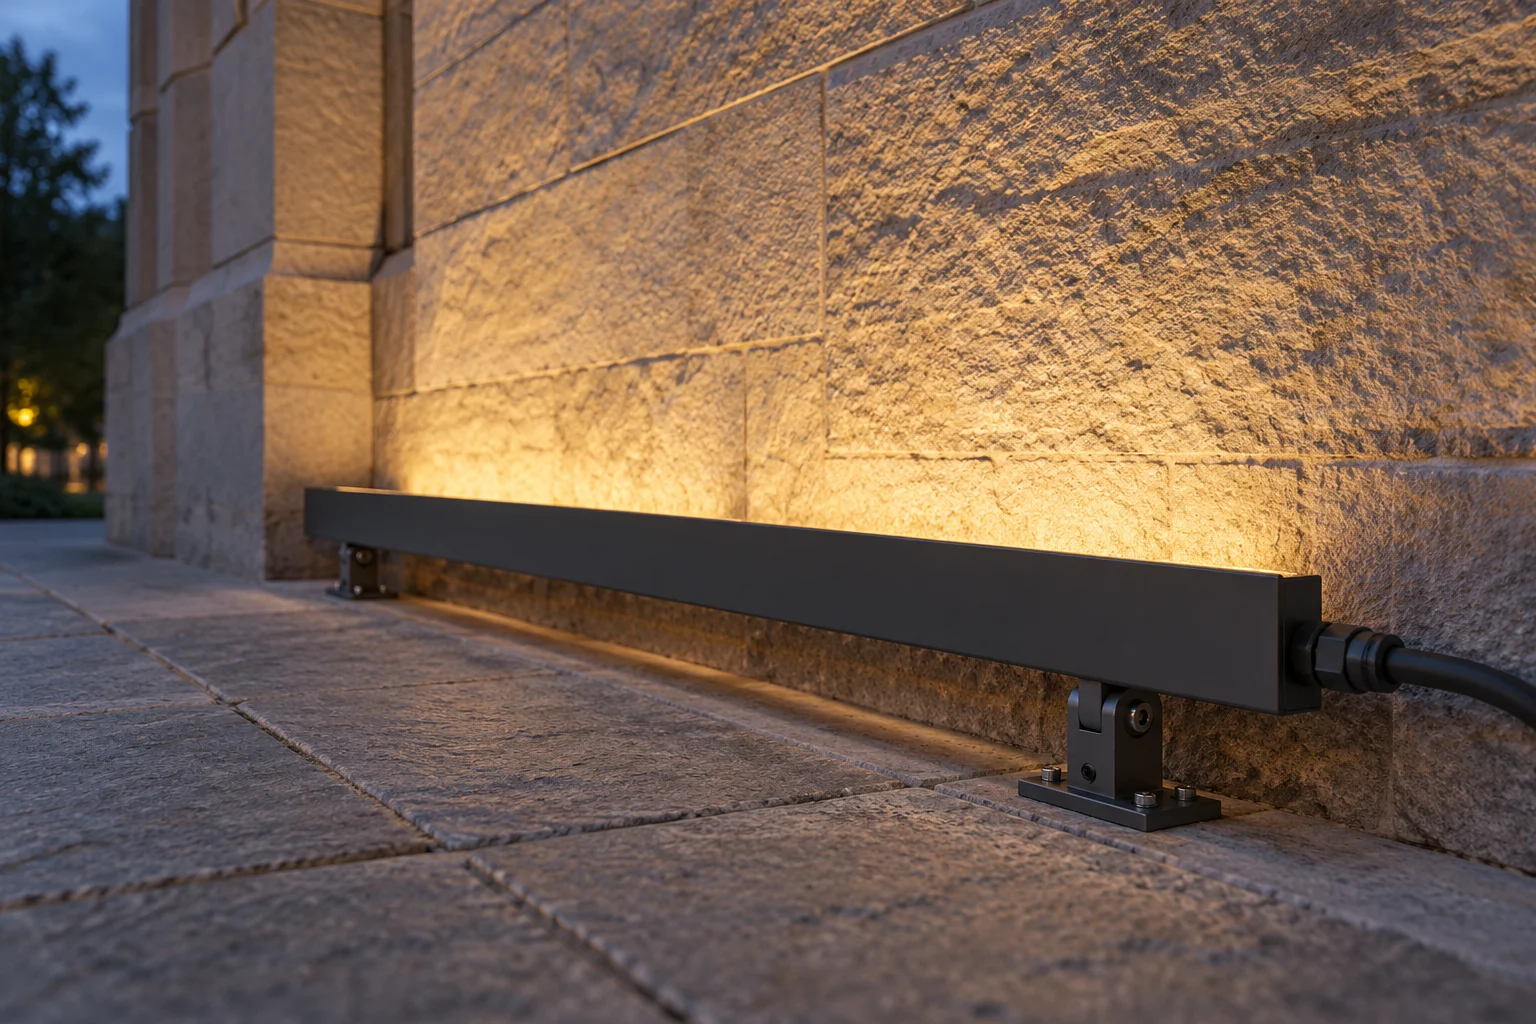
The shielding edge must interrupt the unwanted sightline without taking away the light needed on the wall. The illustrated assembly is not a product specification.
Confirm accessory compatibility with the supplier before ordering or retrofitting. A site-made cover needs a proper design review; do not assume that drilling the housing, blocking drainage or wrapping the luminaire is an acceptable fix. Any change must preserve the manufacturer's mounting, thermal and environmental requirements.
Set the output for the hours people use the space
Once the beam and sightlines are under control, lower the output in steps and judge the wall from the agreed viewpoints. Record the controller setting for the accepted scene. A displayed percentage is a control setting, not a measured percentage reduction in glare. Check the selected driver's dimming behaviour at the intended low level before repeating the setting across the project.
A hotel entrance may need one scene during arrivals and a quieter facade scene later in the evening. Agree the schedule with the operator, while keeping required route and safety lighting on its own appropriate control strategy. DarkSky and the Illuminating Engineering Society's outdoor lighting principles recommend limiting output to what is needed and using controls to reduce or switch off unnecessary light.
Warmer light can suit the material and the intended atmosphere. It does not correct a fixture aimed into a window or make an exposed bright aperture disappear. Set the colour and the glare-control details as separate decisions, then review the complete scene.
Use one representative bay for the night mockup
Choose a bay that includes the difficult detail: a nearby path, a reflective finish or a window. Install the proposed fixture, driver, optic and shield in the intended geometry. A sample glowing on a meeting-room table cannot show how that combination will look from the street.
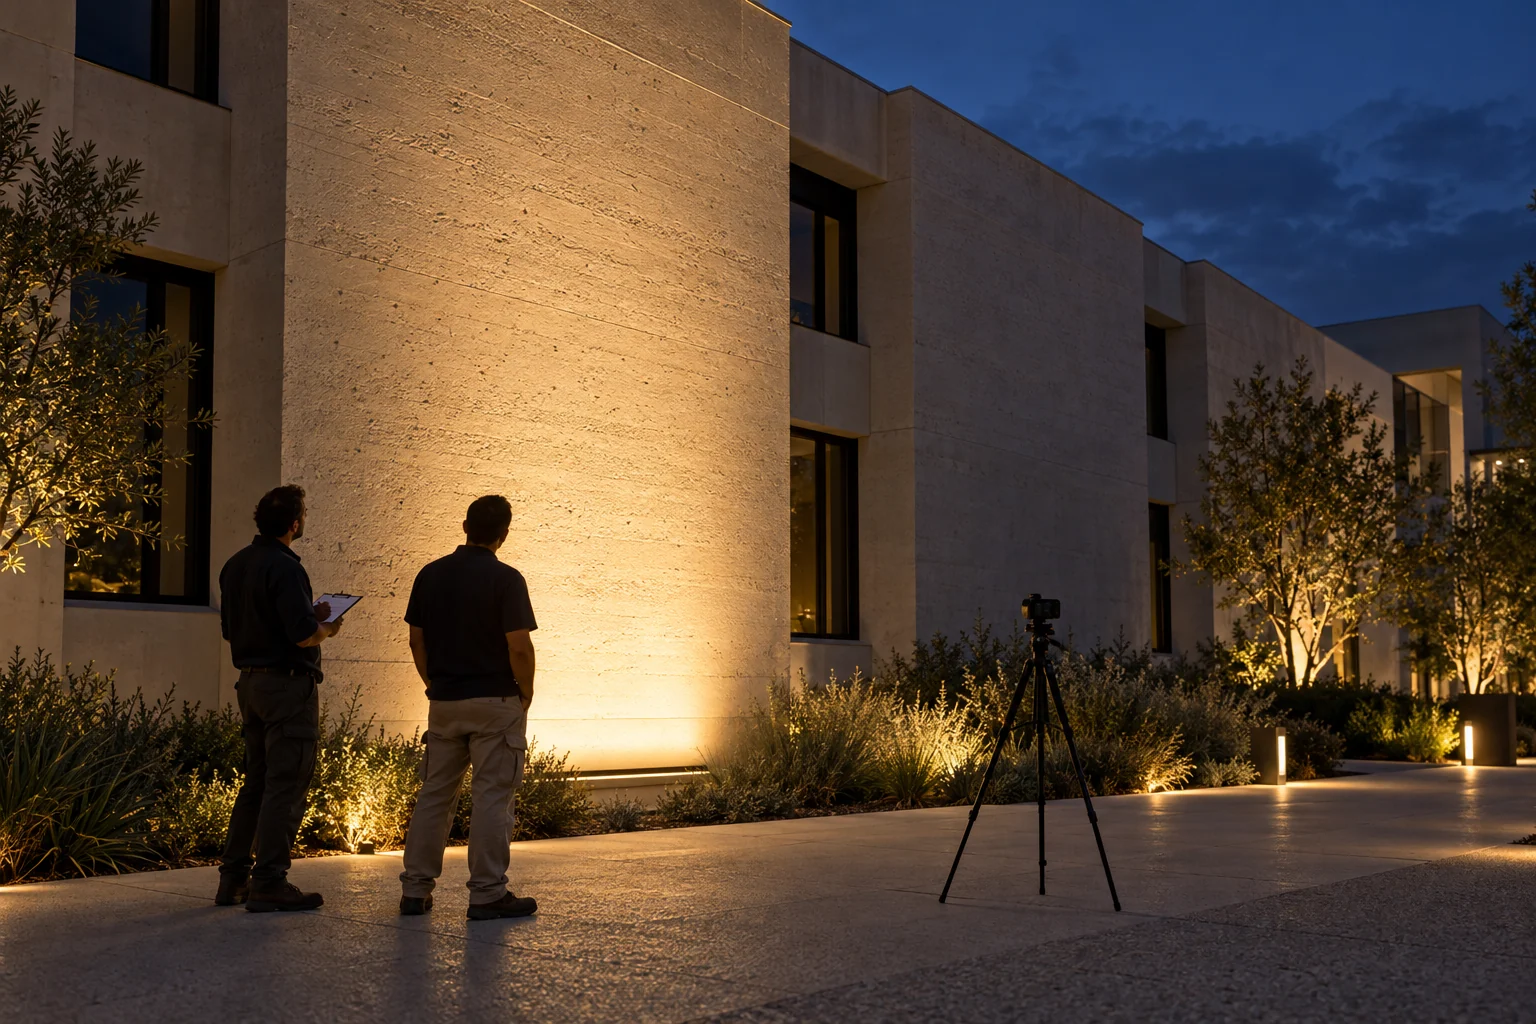
A representative bay makes it easier to compare changes before the full installation is repeated.
Begin with the proposed evening scene. Let the observers view it from the agreed positions, including the affected room where access is available.
Change one factor at a time, such as aiming, shielding or output. Keep the other settings recorded so the team can identify what helped.
Repeat the walking route and seated views after each change. Check that an improvement at one position has not created a new bright patch elsewhere.
Take comparison photographs from the same position with fixed exposure and white balance. Keep them with the site notes; photographs support a review but do not replace direct observation or required measurements.
Ask the responsible designer to assess the result against the project's agreed criteria. Save the accepted assembly, aiming reference and scenes for installation and handover.
Where the project sets limits at windows, boundaries or other locations, the designer should specify the measurement method and acceptance values before the mockup. ‘Looks comfortable’ is useful feedback, but it is not a substitute for a required compliance assessment.
Carry the approved detail into the order
After approval, the purchasing schedule should identify the exact model and optic, shield part or drawing, mounting bracket, output setting and control configuration. Reference the accepted mockup record. Ask the supplier to flag any proposed substitution before production; a housing that looks similar can still change the sightline or distribution.
For each approved position, record: drawing revision; luminaire and optic; accessory; mounting height and wall offset; aiming reference; scene setting; observer locations; approval date and responsible reviewer.
Give the installation team a physical aiming reference or an unambiguous marked drawing. ‘Tilt slightly towards the wall’ leaves too much room for interpretation. Recheck representative positions after installation, especially where the real facade differs from the mockup.
A few questions before replacing the lights
Can dimming alone solve wall washer glare?
It may help where the overall output is excessive. If a lens remains directly visible along the approach, first investigate its position, aiming and shielding. Otherwise the wall may become too dim before the troublesome view is resolved.
Is there one beam angle that is best for low glare?
No single beam angle suits every facade. Choose the distribution with the wall dimensions, mounting geometry and viewing positions in mind. Compare the proposed configurations in calculation and on a representative mockup rather than ordering from the angle label alone.
Can a diffuser replace a shield?
They do different jobs. A diffuser changes how the light is distributed and how the emitting surface appears; it may also send light into additional directions. A shield blocks selected directions. Test the proposed combination and check wall coverage before treating either as a solution.
Send the mounting detail with your enquiry
For an LNJAMI outdoor wall washer enquiry, send the elevation, mounting dimensions, facade material and photographs from the viewpoints that matter. State the required control system and whether a night mockup is planned. Use our contact page to request available optical and accessory options for the selected model; compatibility and the final assembly need project-specific confirmation.
Images are AI-generated illustrations based on photographic references. They do not depict completed LNJAMI projects or document measured lighting performance.