LED Lifetime: The Complete Guide to Maximizing Lifespan
You may think “buy LEDs and forget them.” But many facility managers, lighting designers, and project owners never consider the LED lifetime of outdoor lighting fixtures. A supposedly “50,000-hour” LED run on paper can turn into a maintenance nightmare in the field — patchy façades, drifting color, failing drivers, and surprise replacement bills that eclipse the original equipment cost. That’s because lifetime is the metric that determines the total cost of ownership (TCO), not initial lumens or sticker price.
This guide will do two things for you: first, it will expose the real drivers of LED lifetime — the thermal, electrical, and environmental forces that make or break an installation; second, it will give you actionable deliverables you can use right away (a procurement clause template, a simple thermal-calculation example, and a field checklist). A project manager once told us, “We didn’t buy light, we bought headaches.” Read on to make sure your next project buys the right thing.

1. What LED lifetime really means (and why it’s often misunderstood)
1.1 L70, L80, L90 — which one actually matters?
When you read “50,000 hours” on a datasheet you must ask: to what level of lumen maintenance? L70 means the light output has decayed to 70% of initial; L80 and L90 are tighter thresholds. For everyday street and park lighting L70 is commonly accepted; for architectural façades, landmarks and heritage projects you should prefer L80–L90, because small perceptible changes in brightness or color are very visible on flat surfaces and façades.
Human perception also matters: the eye notices contrast and patchiness before it notices an absolute lumen loss. That’s why demanding L90 for key visual planes (or specifying tighter colour tolerances) is common for premium projects.
1.2 LM-80, TM-21, and why cheap LEDs can fake “long life”
LM-80 is the laboratory test that measures lumen maintenance of LED packages/modules over thousands of hours under defined temperatures. TM-21 is the method used to extrapolate LM-80 test data to longer lifetimes. Problems arise when suppliers extrapolate beyond reasonable bounds or fail to disclose test conditions (ambient temperature, drive current). If there is no LM-80 data for the LEDs used, any long-life claim is unsubstantiated.
2. Thermal management — the #1 factor that determines LED lifetime
Thermal management is not an afterthought; it is the single engineering discipline that most directly controls whether an LED system ages gracefully or fails prematurely. At the device level, trapped heat raises the LED junction temperature (Tj), accelerating phosphor degradation and lumen depreciation while dramatically shortening the life of temperature-sensitive components such as electrolytic capacitors. At the system level, poor heat paths create thermal gradients so some modules run significantly hotter than others — the visual result is color shift and “patchy” façades long before aggregate lumen numbers trigger alarms. In short: lab lifetimes (LM-80/TM-21) assume controlled temperatures; real outdoor conditions — solar gain, low airflow, dust buildup and high night-time ambient temperatures — change everything. Treating thermal design as “we’ll fix it later” is the most common root cause of costly lighting failures.
2.1 How heat shortens life — the physical chain
Heat damages LED systems through a cascade of effects. Elevated Tj speeds phosphor and encapsulant chemistry breakdown, increasing light output loss; it accelerates driver capacitor aging and raises the likelihood of thermal fatigue in solder joints and passive components; and it can yellow optics, diminishing useful light. As an engineering rule of thumb (approximate), a ~10°C increase in junction or component operating temperature can roughly halve the useful life of some temperature-sensitive parts. This is a useful planning heuristic, but detailed design must use measured material properties and simulation for precision.
2.2 Quick, practical heat calculation
Use the steady-state relation as a first filter:
Tj = Ta + Pd × RθJA
where Ta = ambient temperature (°C), Pd = power dissipated as heat (W), and RθJA = junction-to-ambient thermal resistance (°C/W).
Example for a quick onsite estimate: Ta = 35°C, Pd = 3 W, RθJA = 6 °C/W → Tj = 35 + 3×6 = 53°C.
If assembly or potting raises RθJA to 8 °C/W, Tj = 59°C, which moves components toward accelerated aging. Practical field check: run the unit 10–15 minutes and use an IR thermometer — if driver or case surface temperatures are >60°C (or the measured Tc approaches vendor limits), halt and investigate thermal paths.
2.3 A practical thermal assessment workflow (engineer’s checklist)
Define worst-case boundary conditions: set ambient extremes (e.g., Ta = 25°C / 50°C), solar exposure, mounting orientation, and continuous drive current.
1-D feasibility check: compute acceptable RθJA from your Pd and target Tj to get a first-order heatsink/PCB sizing.
CFD simulation: build a 3-D model including MCPCB, TIM, heatsink geometry, housing and any potting materials; run steady-state and transient cases with worst-case Ta and solar loading. Use tools like SolidWorks Flow, ANSYS Icepak or COMSOL.
Prototype & mock-up: instrument a representative sample (Tc, driver case, outer housing), run at rated conditions for 24–72 hours, and collect temperature traces. Use results to validate and recalibrate the CFD model.
Design freeze & acceptance: lock geometry with validated thermal margins and include temperature acceptance criteria in the procurement and factory test plan.
In-service monitoring: implement periodic IR spot checks or IoT temperature telemetry at Tc/driver points with alert thresholds.
2.4 Field story — a small failure that costs big
On a coastal hotel project, factory-rated 50k-hour wash lights were installed in tight, aesthetic housings. Summer nights routinely produced fixture case temperatures over 55°C; within 18 months the façade displayed uneven color shift and repeated driver failures. The root causes were threefold: convection was blocked by the housing, standard (low-temp) electrolytics were used in the driver, and the supplier’s LM-80 data had been measured at much lower Tc than the in-service conditions. Fixing the problem required redesigning the heat path (larger fins, improved TIM), upgrading drivers, and a staged replacement plan — an expensive retrofit that an early thermal mock-up could have reduced.
3. Driver quality: the hidden half of LED lifetime
3.1 Why ~60% of outdoor lighting failures are driver-related
In real outdoor lighting installations, the majority of failures do not originate from the LED chips themselves. Instead, they can almost always be traced back to the drivers. Field surveys show that close to 60% of outdoor luminaire failures come from driver degradation rather than LED lumen depreciation. The main culprits are predictable: electrolytic capacitors lose capacitance under heat stress, MOSFETs and rectifiers suffer cumulative thermal fatigue, and inadequate surge protection exposes the entire system to lightning-induced voltage spikes.
Once the driver begins to drift out of spec, symptoms appear quickly—subtle flicker, unstable brightness, unexpected shutdowns, and eventually complete driver failure. Even if the LEDs are still perfectly healthy, a weak driver throws the whole system into instability. This is why driver quality is often described as “the hidden half” of LED lifetime: it is invisible to the client, but decisive for long-term reliability.
3.2 Constant current vs. constant voltage — choosing the topology that actually lasts longer
Most high-power outdoor fixtures, including wall washers, floodlights, and façade projectors, rely on constant-current (CC) drivers. These keep the LED current stable regardless of temperature fluctuation or forward voltage variation, directly reducing thermal runaway risk. When CC drivers are used with the correct drive current margin (typically 85–90% of LED rated current), lifespan improves noticeably.
Constant-voltage (CV) drivers, on the other hand, are necessary for pixel nodes, DMX strips, and modular LED systems where many sub-modules share a power bus. However, CV setups rely on secondary current-limiting resistors or ICs. If the fixture design is not optimized, this can create uneven loading, LED stress, and accelerated degradation. Problems multiply when someone pairs a CV driver with a fixture intended for CC operation—overdriving, overheating, and color shift are almost guaranteed.
Choosing the right topology is therefore not simply a specification checkbox—it is a longevity decision. Professional projects always start from the fixture’s electrical architecture, then select a driver topology that minimizes stress on every LED node.
3.3 Brands vs. low-cost drivers: what the real difference looks like in the field
Premium driver brands such as Mean Well, Inventronics, Philips/Signify, and MOSO invest heavily in capacitor quality, long-term thermal aging tests, surge design, and PCB layout optimization. Their datasheets clearly list Tc (case temperature) limits, ripple characteristics, surge immunity levels, harmonichttps://www.ljmlamp.com/admin/index performance, and MTBF numbers. In field applications, these drivers typically last 5–8 years—sometimes over a decade—when correctly installed with proper thermal paths.
In contrast, low-cost “white-label” drivers often hide critical data: the capacitor brand is unspecified, Tc values are optimistic, surge protection is minimal, and no meaningful burn-in testing is performed. These drivers may pass the first few months without issue, but once exposed to 40–55°C ambient nights, high humidity, or unstable grid power, failure rates rise rapidly. Replacing these drivers increases labor cost, site downtime, and end-client frustration—far exceeding the initial “savings.”
4. Waterproofing and materials: where lifetime is decided before power-on
4.1 Structural waterproofing vs. glue-potting: which one is truly better for long-term reliability
Outdoor fixtures fight two enemies every day: water and time. Long before a luminaire is powered on, its lifespan is already determined by how well the enclosure handles moisture, condensation, and thermal movement. Structural waterproofing relies on engineered geometry—tongue-and-groove housings, precision-machined endcaps, compression O-rings, labyrinth seals, and dedicated drainage paths. This method preserves serviceability, ensures stable thermal conduction, and maintains uniform internal pressure across temperature cycles. Because the internal electronics remain accessible, maintenance teams can replace drivers, reseal connectors, or refresh gaskets without damaging the fixture.
Full epoxy potting, by contrast, is often marketed as “absolute protection,” and indeed it provides excellent resistance against immersion, vibration, and shock. However, it comes with two major trade-offs. First, potting increases thermal resistance, trapping heat around LEDs and drivers—significantly shortening electronic lifespan unless the system is specifically engineered to dissipate heat through the housing. Second, potting eliminates serviceability: once a driver or module fails, the entire fixture must be discarded. For maintainable façade lighting, this becomes costly.
4.2 IP66, IP67, IP68 — what contractors should really choose for different environments
Choosing an IP rating is less about the number itself and more about matching it to real-world site conditions. IP66 protection—high-pressure water resistance—is sufficient for most façade and architectural applications, where fixtures are exposed to wind-driven rain but not immersion. Ground-recessed uplights, plaza fixtures, wall-mounted luminaires near wash-down zones, or fixtures subject to cleaning jets often require IP67 (temporary immersion) or IP68 (continuous immersion).
For coastal, port, and marina projects, water protection is not enough. Fixtures should include:
Salt-spray test compliance (often 480h or 960h per ASTM B117)
Corrosion-resistant fasteners and brackets
Breather valves to equalize pressure during temperature and tide changes
In many cases, the difference between a five-year failure and a ten-year stable installation is simply choosing the correct material and sealing strategy.
4.3 Corrosion resistance: the long, silent failure mode that destroys fixtures without warning
While water intrusion causes sudden failure, corrosion works quietly—often unnoticed until screws seize, housings crack, or bonding surfaces weaken. Coastal locations, bridges, seaside resorts, and high-humidity cities expose fixtures to salt ions, which aggressively attack aluminum, cheap stainless steel, and coated metals.
To prevent this, coastal and marine projects should adopt a strict material strategy: 316L stainless steel for screws and brackets, thicker anodizing layers (≥15–25 μm) for aluminum extrusions, and marine-grade powder coatings for harsh environments. Fixtures installed near fountains or chemical-rich environments should use UV-stable gaskets, EPDM seals, and anti-salt surface treatments.
Corrosion is also a structural threat: once a screw loses integrity or a mounting bracket weakens, water ingress becomes inevitable. This is why engineers treat corrosion protection as part of the waterproofing system—not an afterthought. A luminaire may have IP67 on paper, but with the wrong screws or coatings, its effective lifespan will collapse long before the electronics reach end-of-life.
5. Optical Design: Lifetime Also Includes Color Stability and Photometric Integrity
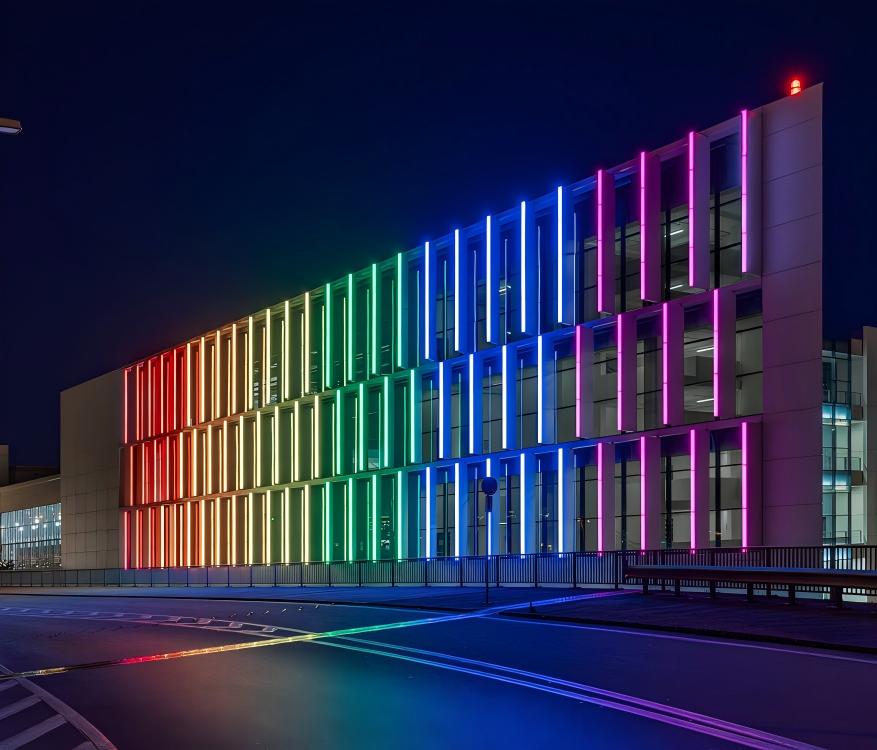
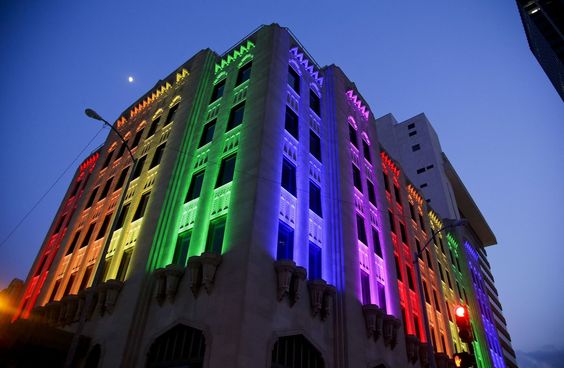
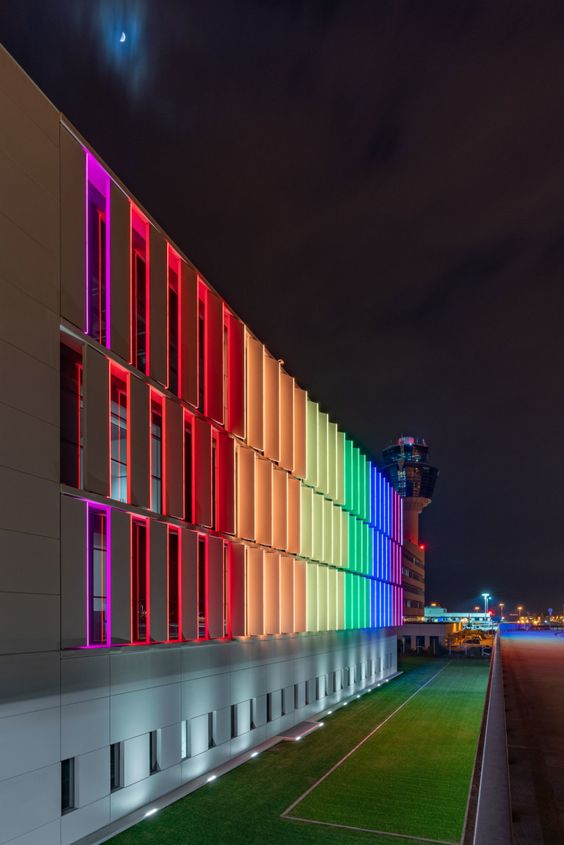
LED lifetime is not only about whether the light still turns on — it’s about whether the color consistency and beam quality remain intact after years of operation. Many façade projects develop a “patchy wall” effect after two or three years, not because the LEDs fail, but because the optical system ages unevenly.
Uneven lumen decay, color shift, and beam distortion typically result from three issues:
Uneven thermal loading that accelerates degradation in certain modules;
Phosphor and LED chromaticity drift, especially at high junction temperatures;
Optical material aging, where low-grade PC/PMMA yellows under UV and loses transmittance.
To preserve long-term photometric quality, focus on three essentials:
Tight color binning (SDCM ≤ 3) and consistent batch control.
UV-stable optical materials — use tempered glass outdoors; if using lenses, specify UV-resistant PMMA/PC.
Protection against contamination — good sealing and anti-condensation design prevent haze and dust from degrading the beam.
A well-engineered optical system determines whether a project still looks clean, uniform, and professional after 3–5 years. It is just as critical to lifetime as the LEDs themselves.
6. Budget vs Lifetime: What to Prioritize in Real Projects
Every project wants long lifetime, but real-world budgets force trade-offs. The key is knowing which factors truly influence longevity and which specs add cost without improving reliability. In practice, three priorities matter most.
First, never compromise on thermal performance. A fixture with inadequate heat dissipation will fail early regardless of LED brand or IP rating. If money is tight, prioritize a solid heatsink, proper PCB design, and a driver with realistic Tc margins.
Second, invest in a reliable driver. Since most outdoor failures are driver-related, choosing a reputable driver brand often yields the highest lifetime return per dollar spent. Long-life capacitors, proper surge protection, and verified derating matter more than “extra lumens.”
Third, choose materials that survive the environment. For façades, UV-stable optics and corrosion-resistant housings prevent the slow degradation that makes installations look old even when LEDs still work.
With limited budgets, prioritize thermal design → driver quality → materials, in this order. These three decisions determine whether an installation reaches its intended lifespan—or becomes a maintenance burden long before its time.
Conclusion — Longevity Is Designed, Not Promised
Good LED projects don’t luck into long life — they are engineered for it. Lifetime is the sum of many small, often invisible decisions: how heat is managed, which driver sits behind the LEDs, what materials face the weather, how optics are specified, and where the budget is spent. Get those fundamentals right up front and you avoid late-night service calls, angry owners, and repeated replacements — and you protect the true ROI of your lighting investment.
Quick takeaway — do these three things now:
Prioritize thermal design first (set Tc targets and validate with a mock-up).
Specify a reputable driver and require burn-in + surge specs.
Lock optical binning and corrosion-proofing in your contract.
At LNJAMI we build reliability into every stage — from product selection to on-site commissioning. Founded in Shenzhen in 2008, LNJAMI specializes in outdoor architectural lighting (façade wash, linear LED, floodlights, point-source modules, LED mesh screens, light-guide panels and in-ground uplights). Our team combines field-proven thermal strategies, rigorous driver qualification, and maintenance-friendly waterproofing with bespoke design, control programming and installation support — all aimed at delivering nightscapes that stay beautiful year after year. Learn more about our portfolio and technical services at www.ljmlamp.com


